My Little Pony Costume Tutorial
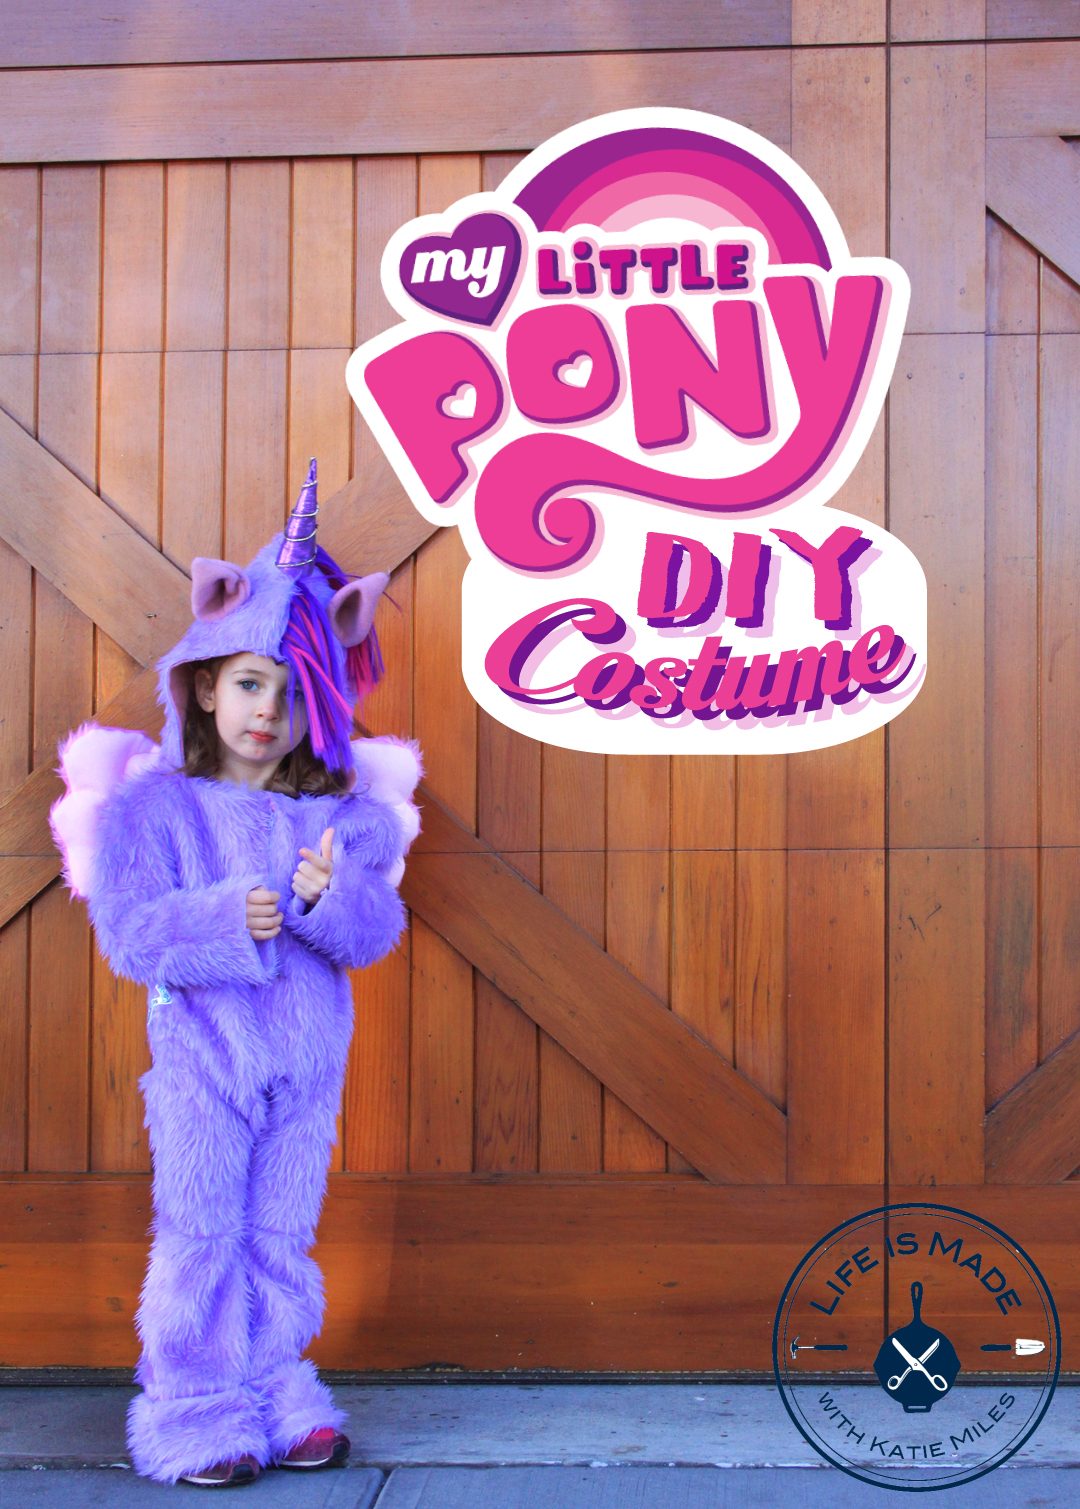
How to Make a My Little Pony Costume
Supplies:
- 1 yard of felt for the ears, wings and inside of the hood
- 1 1/2 yards of fur or fleece fabric
- 1/4 yard of fur or fleece fabric in another color for the wing tips
- 1/4 yard of lame fabric for the horn and wings
- 1/4 yard of cording for the horn
- 1/4 yard of stabilizer for the hood
- 1/4 yard of Heat n' Bond for the wing tips
- Polyfil for the wings and horn
- 7 inch zipper
- Velcro
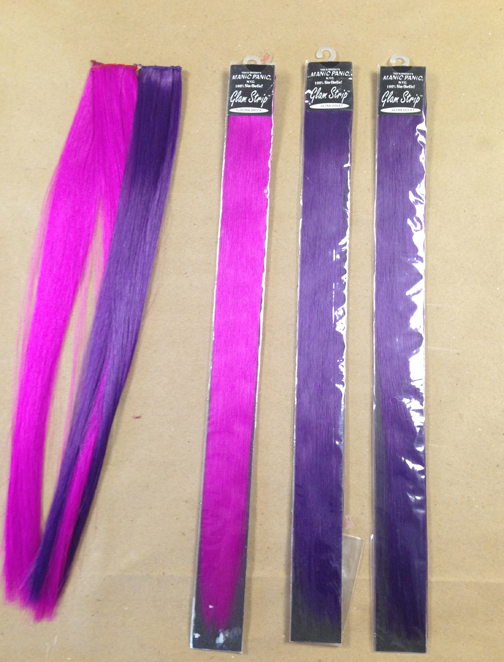
- Hair Extensions: I used Manic Panic hair extensions for the tail and hair extensions like this for the mane
- Applique/ Iron-on stars like these silver and gold stars and these sequin stars both from Joanne's.


1. It may be useful to make a sketch of the costume so you have complete idea of all the components for the costume.

2. Take all the measurements for the BODY OF THE COSTUME
Measurements:
- Top of neck to bottom of foot:
- Top of shoulder to wrist
- Armpit to wrist:
- Wrist circumference divided by 2:
- Chest circumference divided by 2:
- Hip circumference divided by 2:
- Crotch to bottom of foot:
- Armhole circumference divided by 2:
- Armpit to bottom of foot:
- Knee circumference divided by 2:
- Foot circumference divided by 2:
Add:
- One inch to the sleeve length so the sleeves go past the wrist
- One inch to the ends of of the pants for a hem
- 2 inches to chest and waist for ease
- 1 inch to knee circumference for ease
- 1/2 inch to all measurements for seam allowance
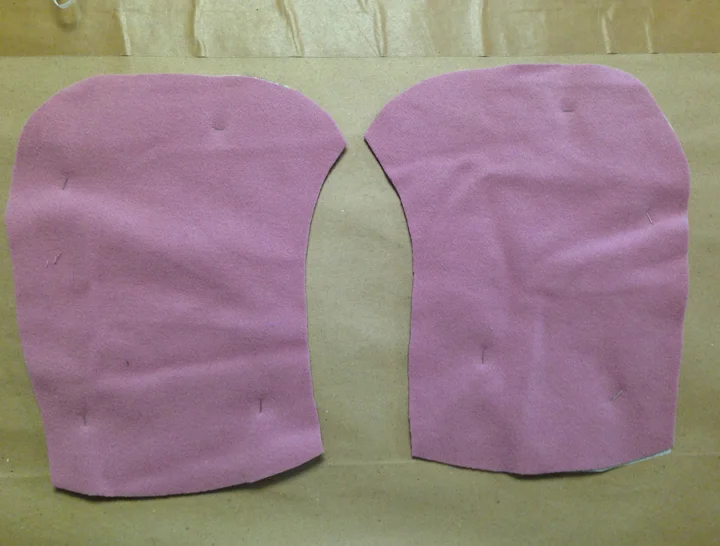
3. Draw the pattern out on pattern paper and then cut it out. Fold the fur or fleece fabric in half, pin the pattern down and cut out two body pieces.

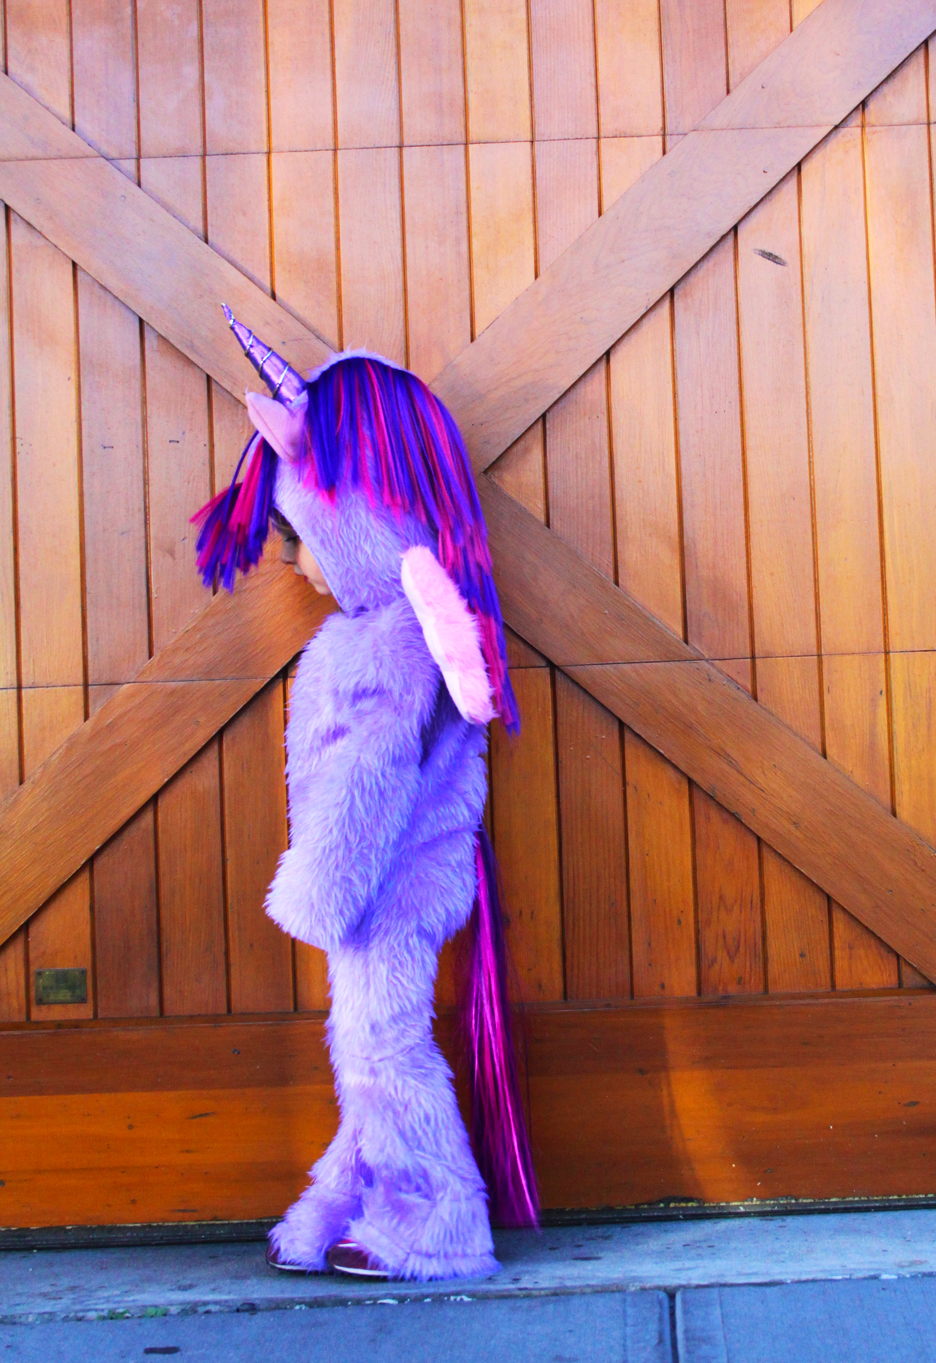
FOR THE TAIL: I used 5 Manic Panic hair extensions for the tail.
1. Cut a 1 1/2 inch slit in the back side of the body about 3-4 inches from the crotch.
2. Pin the tops of the hair extensions to the inside of the body.
3. Cut a 2 x 2 inch square from the felt and pinned it over the slit and hair extensions.
4. Sew the square to the body and hair extensions. Sew a around the edge of the felt square, then sew and X through the middle of the square.


Sew in the zipper to the front panel of the body and use (optional) velcro at the top of the costume.

Iron the stars onto the back hip of the costume.

FINISH THE BODY
Now that the tail, zipper and stars are all in place you can finish the body.
1. Sew the foot cuffs to the legs of the body. (Optional: Hem the pant legs and sleeves of the costume.)
2. Pin the front and back together face to face and sew the edges together. Turn right side out and set aside.
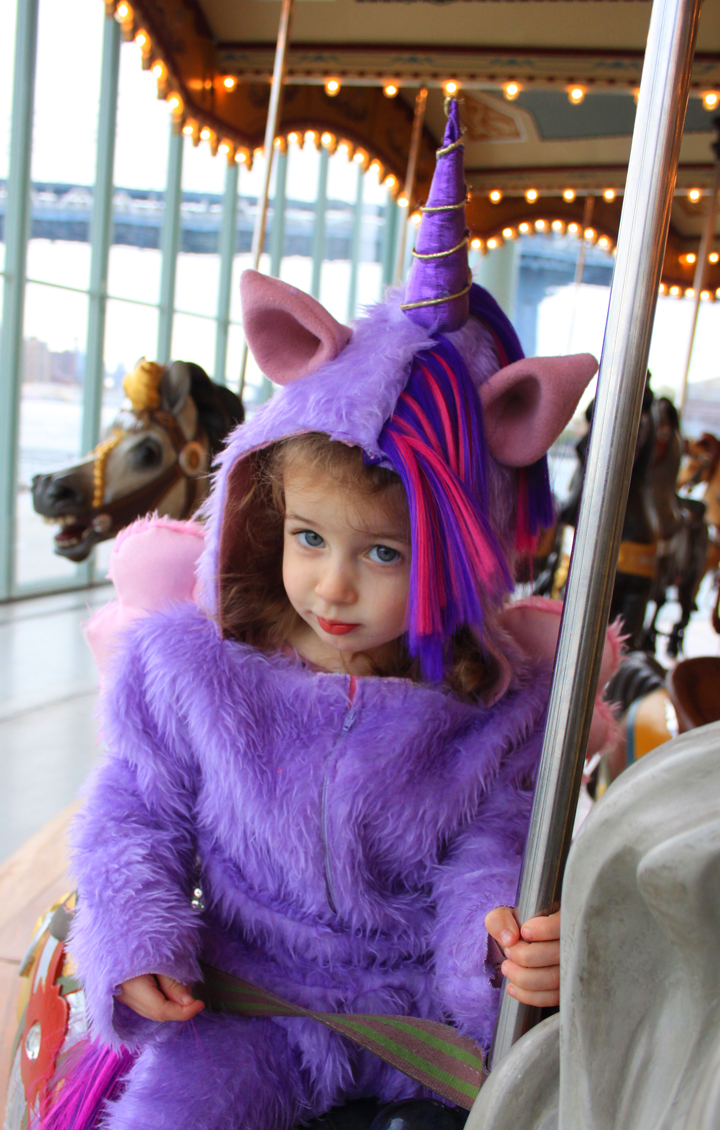
FOR THE HOOD
1. Use a hood of a shirt or sweater that fits your child to copy a pattern for the hood of the costume.

2. Use the hood pattern to cut out two pieces from the fur fabric and 2 pieces from the felt fabric.

3. Cut out two hood panels from the stabilizer and pin it sticky side down to the felt panels. Iron with the stabilizer down using the iron's hottest setting.

4. Cut the fake hair into to pieces: one the length of the hood from the top where the backside of the horn and another piece from the front side of the horn to the front of the hood. Trim the hair so that it is only about 3-4 inches long. I used pink and purple hair so I attached them to each other using a loop stitch with a needle and thread before pinning them to the hood panels. Make sure to leave a hole at the top of the hood where the horn will poke through.

5. Sandwich the hair between the two fur hood panels so that the fur is inside out and the fur is facing inward. Pin them all together and then sew them together using a straight stitch and then a zig-zag stitch to ensure that you have the hair binding sew to the fabric.

6. FOR THE HORN: Cut a triangle with a curved bottom side out of paper. Turn the triangle into a cone and then trace a the bottom circle onto paper. Cut out the circle. Cut the horn panels out of the lame fabric and sew the horn together.

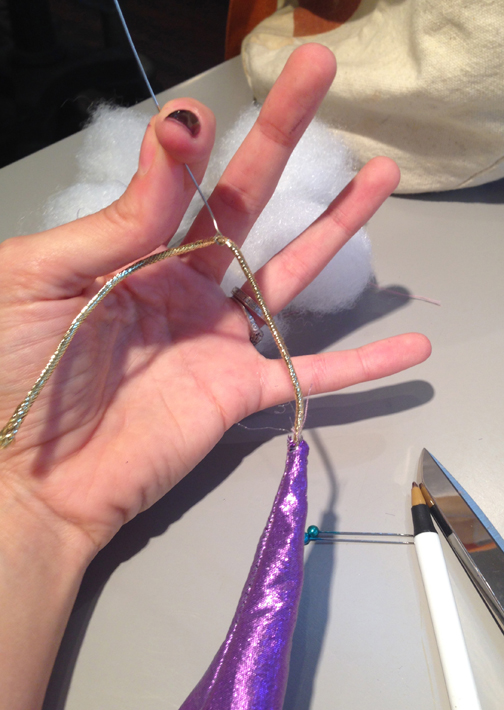
7. String the cording through a large needle, tie a knot at the end of the cording. Poke the cording through the top of the horn from the inside. Spiral the cording down the horn pulling it taunt as you go. I used a bit of hot glue to keep the cording in place.
8. Fit the felt and stabilizer hood underneath the fur hood and trace a circle onto the felt and stabilizer where the horn should be placed. Sew the horn to the felt and stabilizer hood.


9. Once you have sewn the horn to the felt and stabilizer hood, fit it into the fur and hair part of the hood. Pin the front of the two hoods together and trim any excess from the felt part of the hood. Use a straight stitch to sew the two hoods together around the front of the hood.


10. TO MAKE THE EARS: Follow this link to Sugar Art Crafts' Pony Ears Tutorial. This is a really great tutorial that I followed to make the ears for my costume.
11. Pin the ears to the hood and test it on your child before sewing them to the top of the hood. I sewed them to the top of the hood concealing my stitches by sewing along the seam line of the ears. I then tacked them on either side so they wouldn't wobble.
12. Once the hood is complete you can attach it to the body. Pin the hood face to face to the neck of the body and then sew them together.

FOR THE WINGS:
1. Draw the wing shape out onto paper. Add 1/2 inch seam allowance around the entire wing.

2. Use tracing paper to trace the shape that will be the fur part of the wing.

3. Iron a rectangle of the Heat n' Bond onto a rectangle of the pink fur or fleece. Cut out the fur section from the tracing paper and then trace the pattern onto the fused fur and Heat n' Bond. Make sure that the traced wing tips are mirrors of one another. Cut out the wing tips and set aside.

4. Use the wing pattern to cut two wings from the lame and two wings from the felt. Remove the backing from the wing tips and iron them onto the lame wings. Pin the top of the wings to the underside (the felt) face to face and sew them together along the edges. Turn right side out. Stuff with Polyfil.

5. Quilt the wings. I used a white colored pencil and drew the quilting lines lightly on the lame before using a straight stitch to create the quilted lines you see pictured below. Fold the end of one of the wings (where it meets in the middle) once and pin then sew shut. Then sew the second wing end twice and pin it to the bottom wing. Sew a rectangle shape to attach the two wings together.

6. Pin the wings to the back of the body of the costume and sew them to the body. Tack the wings at the top and bottom of the wing (where the fur part of the wing meets the body) to keep them from flopping around.
