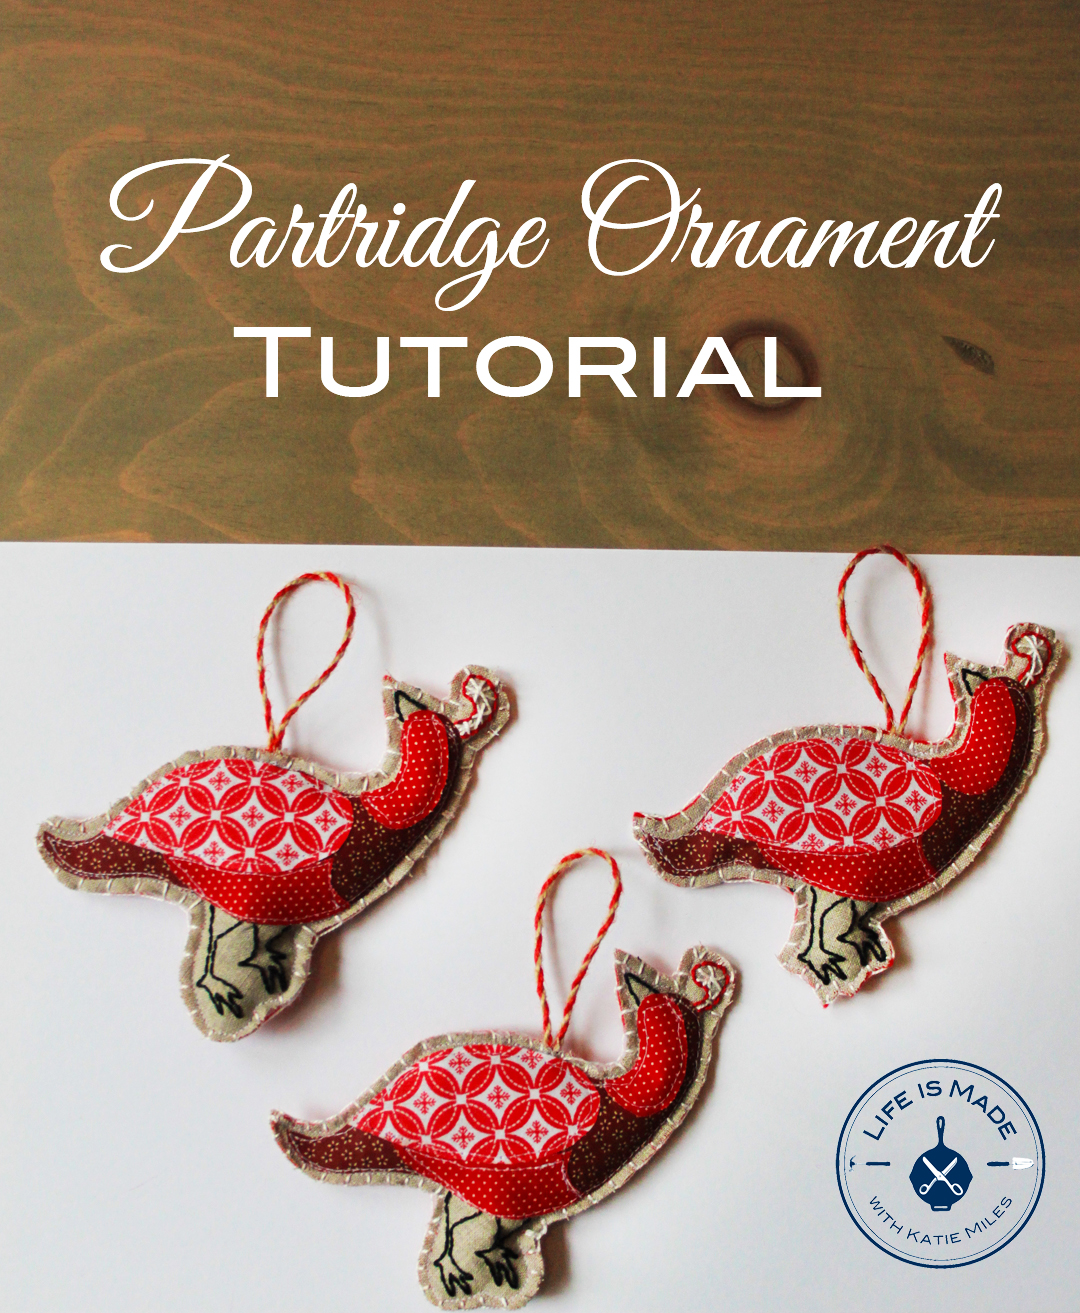
Partridge Christmas Ornament Tutorial (with Free Pattern)

How to Make a Partridge Bird Christmas Ornament
This tutorial will show you step by step how to make these adorable partridge Christmas ornaments.
Supplies:
- 3 patterned cotton fabrics
- linen or canvas in a neutral color
- black, white and red embroidery floss and embroidery needle
- Felt in color of your choice
- Heat n' Bond or another fusible webbing
- Polyfil
- FREE PRINTABLE PATTERN
1. Cut 3 8 inch square pieces of the Heat n' Bond or fusible webbing. Now cut squares out of the 3 cotton fabrics about 1/2 inch larger than the fusible webbing squares (so about 8 1/2 inch square). Iron the fabric to the webbing following the directions that come with the webbing.

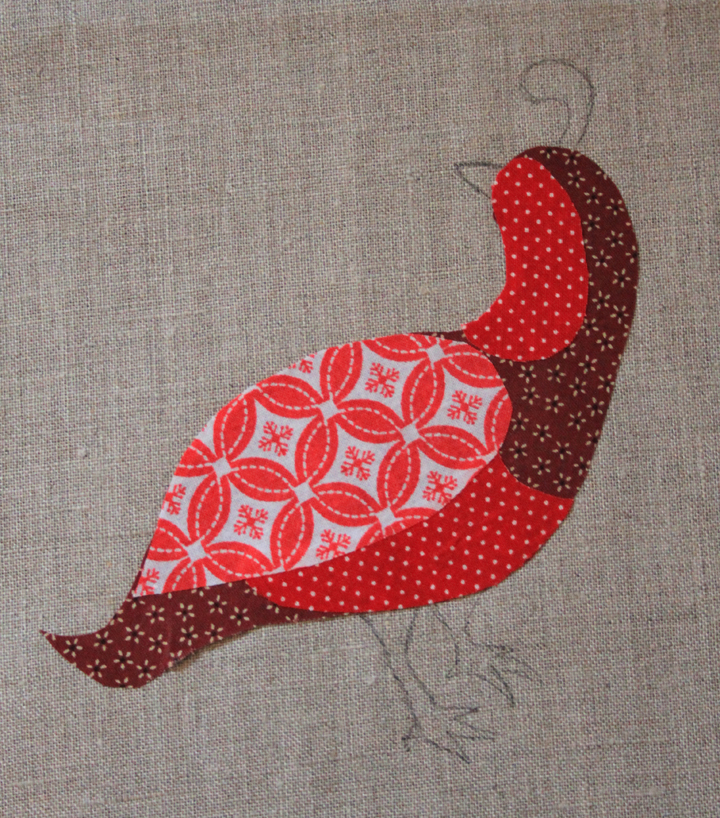
2. Cut out the partridge body from the free pattern (click on the FREE PATTERN line in the supplies list to download and print). Trace the body onto the fabric that you will use for the body of the bird.

3. Cut out the stomach, wing and head shapes from the pattern. Trace them onto the other two fabrics.

4. Cut all the shapes out, remove the backings and then iron them (using high heat) onto squares of the linen or canvas fabric.


5. Use a pencil to either free-hand draw the beak, plume and feet or use the pattern to trace them onto the fabric.
6. (Optional if using Heat n' Bond) Use a sewing machine or sew by hand a straight stitch around each of the shapes.
7. Use a back stitch to stitch the feet, plume and beak.


8. Make stars inside the plume by overlapping stitches as shown below.

9. Sandwich some Polyfil between the top part or the ornament and the felt and pin them together. Don't forget to sandwich a rope or ribbon hanger into the top part of the bird so that it gets sewn in.


10. Use a sew machine or sew by hand around the edge of the bird. Now cut the bird out leaving about 1/4 inch of fabric from the edge of the fabric to the stitch you just made.
11. Use embroider floss and a blanket stitch to finish off the edges. You can use Future Girl's directions to learn how to do a blanket stitch if you don't already know how to do it.