Make an Embroidered Wall Hanging Wedding Present
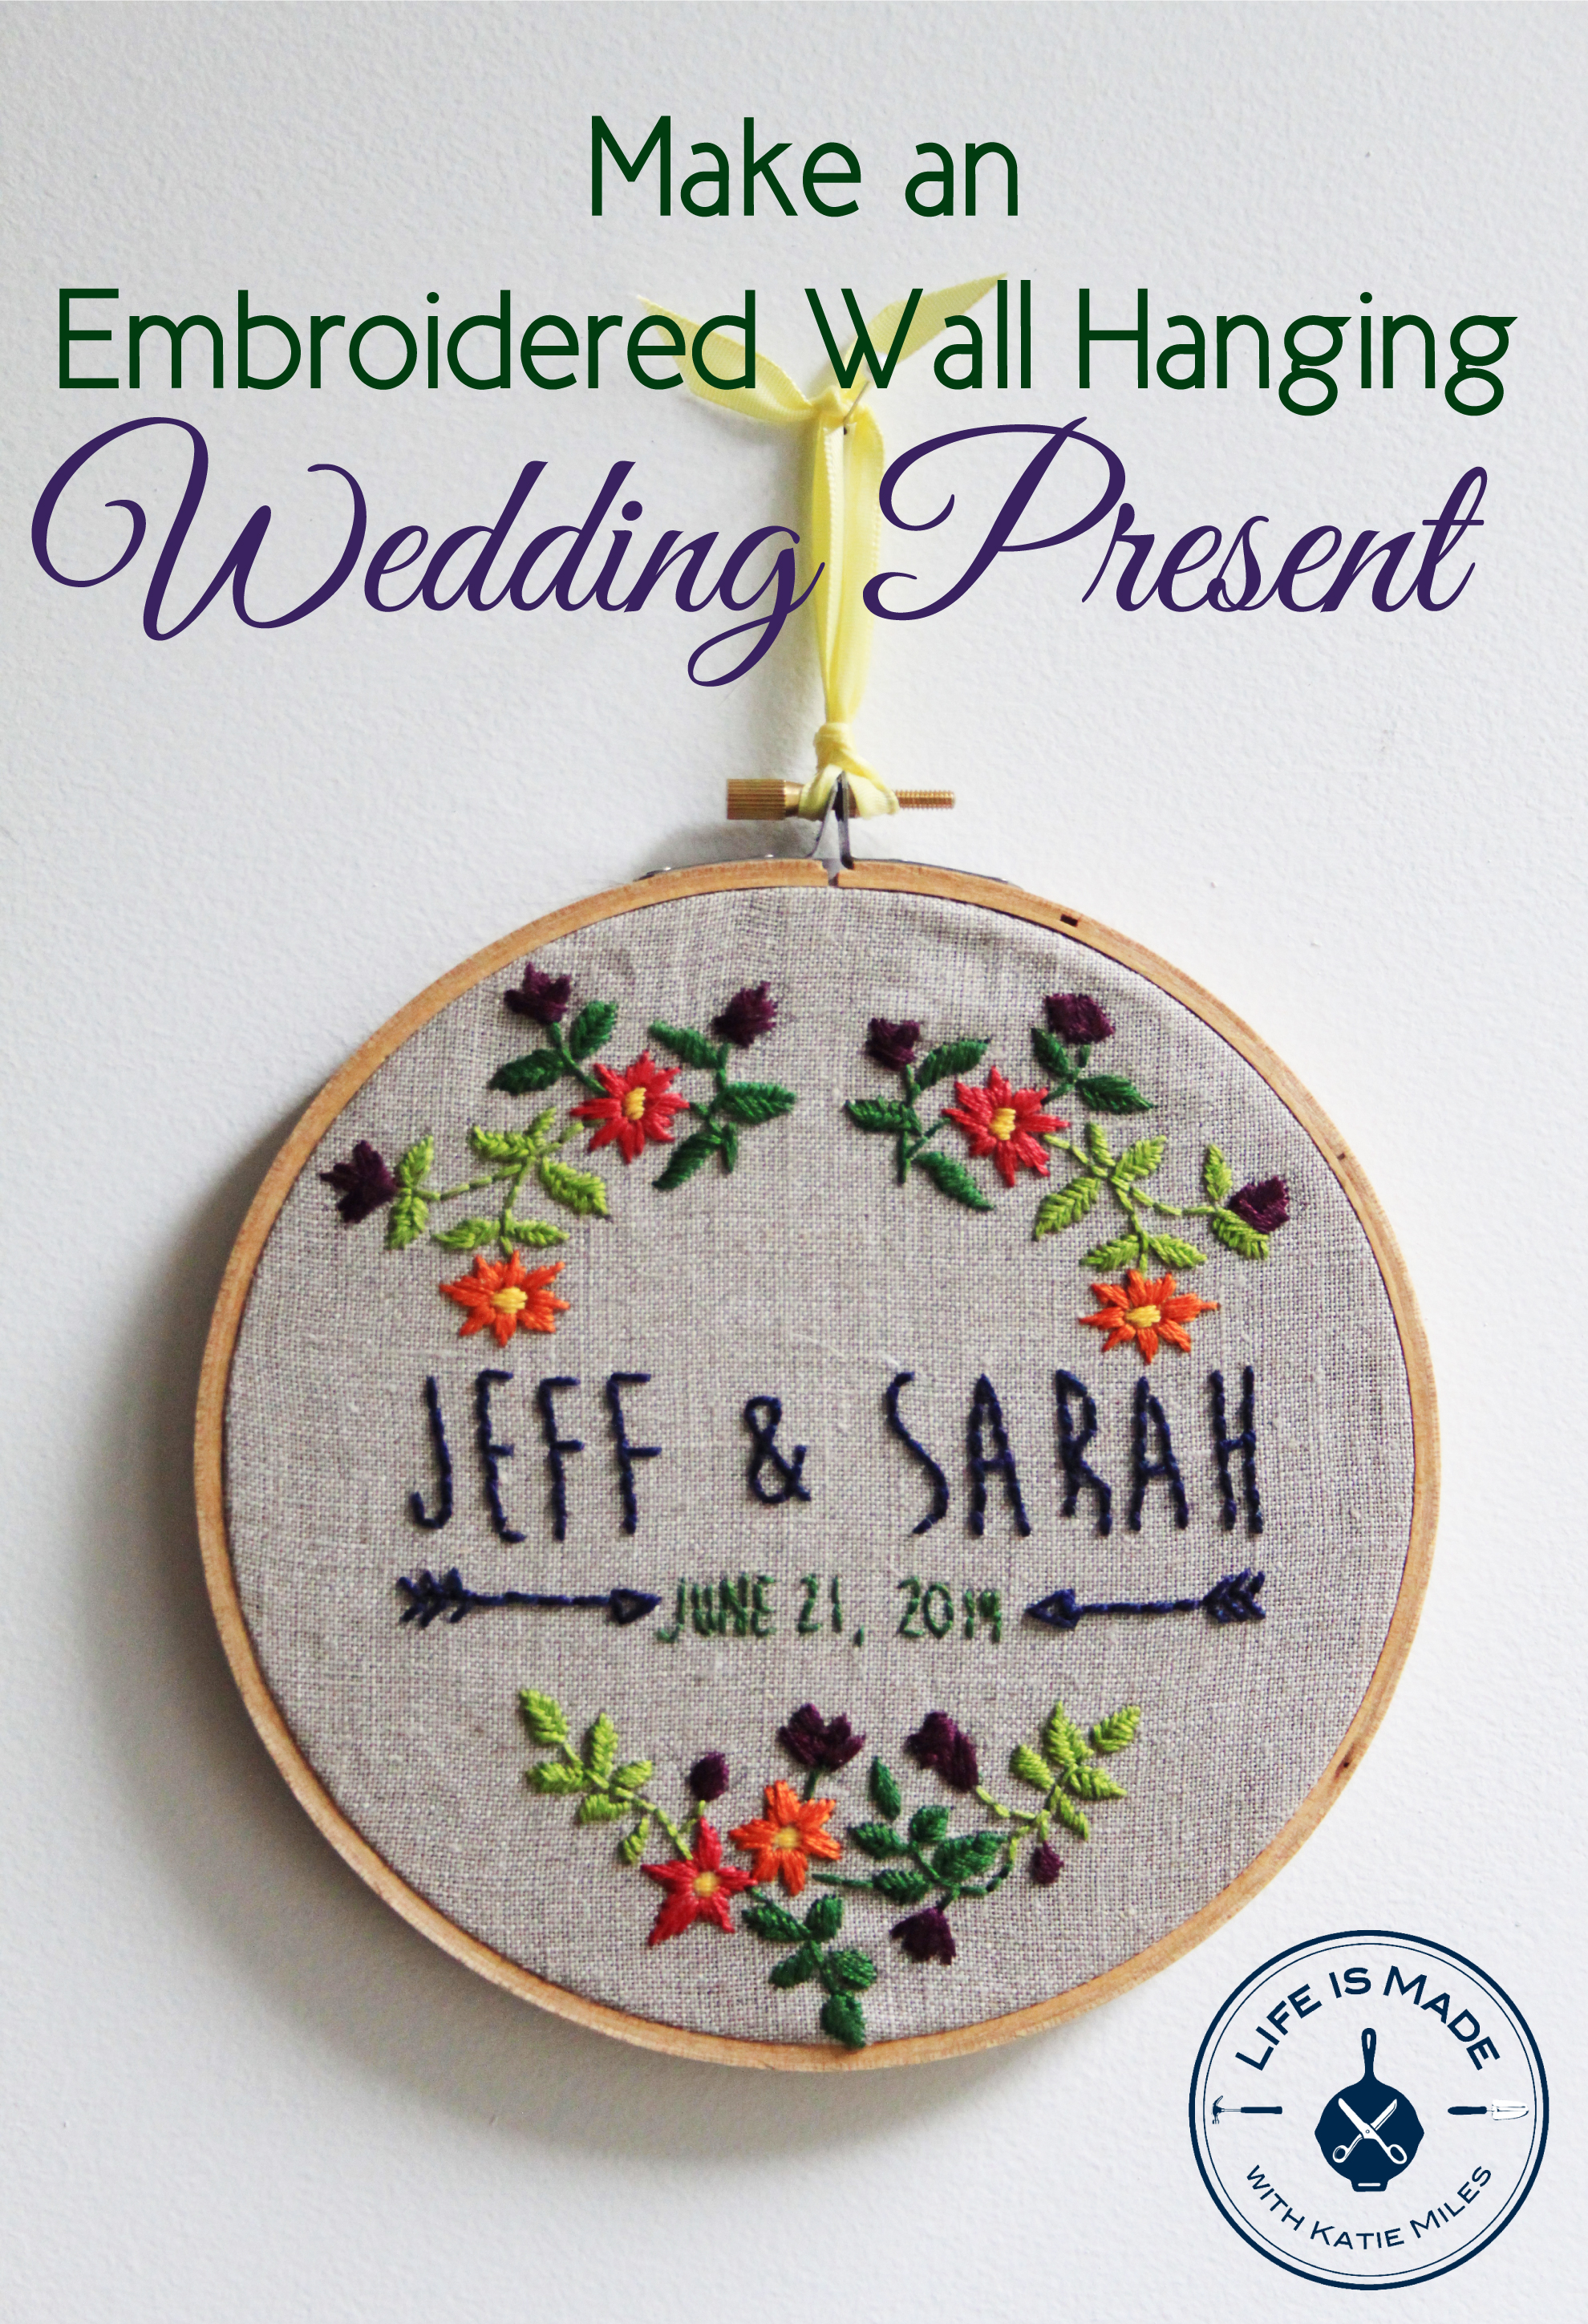
How to Make an Embroidered Wall Hanging Wedding Present
Wedding season is upon us and I've been kicking it into gift making high gear lately. I've been whipping up embroidered wedding gifts like the Embroidered Pillow I made for my friend's wedding this past spring and the Embroidered Tea Towel I made last summer. This wedding gift is for two of my closest friends who sadly live too far away from me. I couldn't make it to their beautiful wedding in Colorado, but I still wanted them to know how much I love them so I created this one of a kind wall hanging to commemorate their special day. Check out my instructions below and make your own wall hanging as a gift for someone else or to decorate your own home.
1. Make the embroidery design on the computer. I used floral illustrations found on google and layed out the design on Illustrator. Print the design.

2. Cut a square of fabric, I used raw linen. Cut a square of carbon copy paper (which you can order on Amazon). Sandwich the carbon paper between the fabric and the printed design and tape everything in place.

3. Use a ball point pen to go over the design, transferring it to the fabric. Stretch the design in an embroidery hoop.

4. Use a backstitch to write the names and dates. For an intricate embroidery like this I use regular embroidery floss (DMC size 25) and split the six strand floss in half, so that I'm threading 3 strands at a time.


5. For the leaves I used a fishbone stitch.
6. Then I made the flowers and flower buds using the satin stitch.


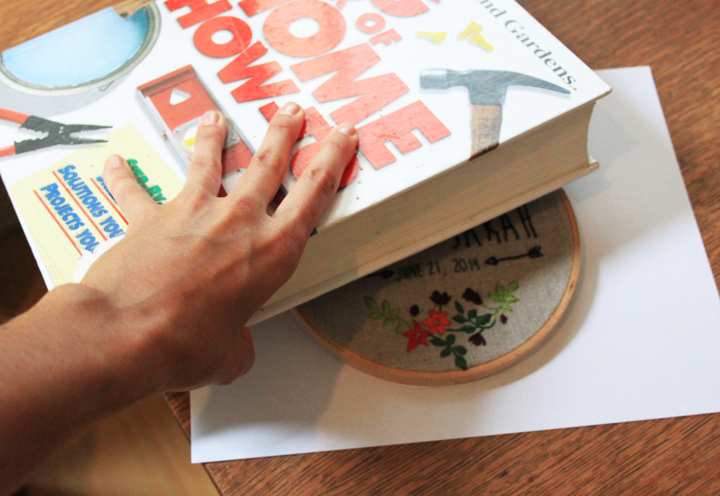
6. To finish the embroidery hanging so it looked nice and neat, I decided to glue the embroidery into the hoop and put a backing on the backside. To create a backing, trace the outside of the hoop onto to a piece of card stock paper or thin cardboard. Trace the outer circle of the hoop. Cut the circle out of the paper and set aside.


8. Cut away any excess fabric from the embroidery. Use Elmer's all-purpose glue and squeeze a thin bead of glue around the edge of the inner hoop. Press the fabric down onto the glue.


8. Squeeze a thin bead of glue along the outer hoop and lay the cardboard circle down onto the backside of the embroidery. Turn over and lay onto a piece of paper so you don't get glue on your work surface. Place a heavy book on top of the entire embroidery and allow to dry for at least one hour.