Embroidered Owl

Embroidered Owl
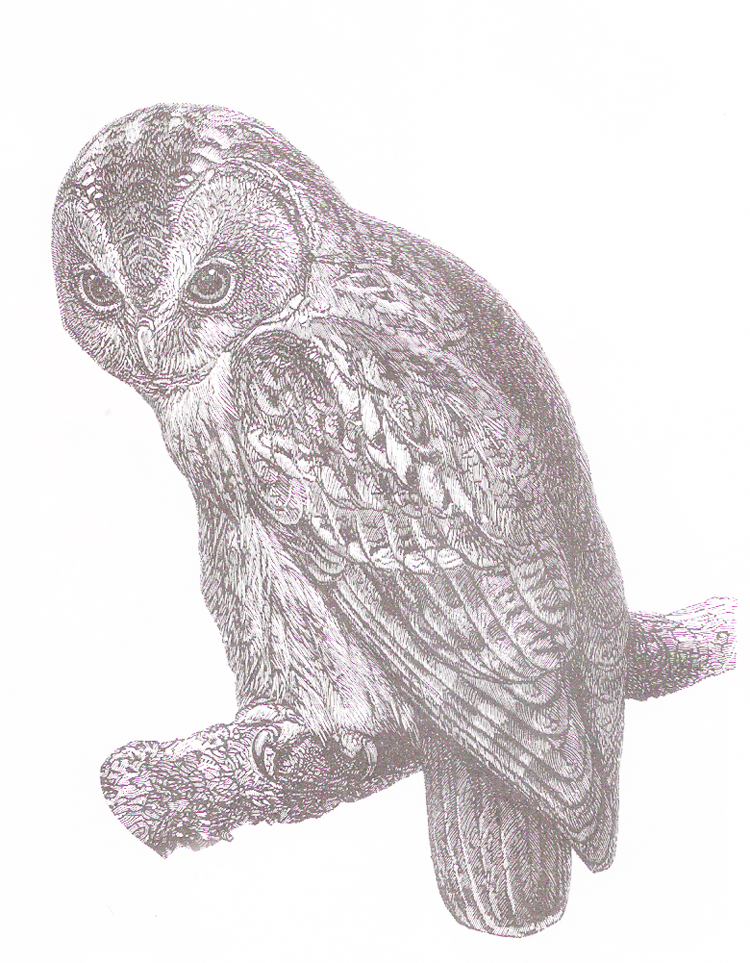
During one of my frequent flea market shopping trips, I came across this amazing solid brass frame. I immediately envisioned an embroidery framed in it because I thought the soft stitching would perfectly offset the ornate metal. I'm still trying to fill our upstate cabin with art so I thought I would choose an animal that we commonly see in the woods around our house and use the artwork to decorate our bedroom. I used this copyright free illustration of an owl that I scanned from this FANTASTIC book. Then I tinkered around with the contrast in photoshop and ended up with this final version which you can download and use for your project. Next, I printed the owl out on iron transfer paper, cut it out and ironed it onto canvas. Last, I wanted the owl to have a whimsical feel so I used many different types of stitches to make up the body of the owl.

Use a standard laser jet printer and iron transfer paper to transfer your image to canvas

As you can see, I didn't know which side the paper needed to be fed into the printer so I ended up printing my owl on the wrong side of the paper. No worries though, it doesn't effect the final product. Lay the image face down and iron onto the canvas on high heat. Once cool, remove the paper backing.

The transfer is so lightweight that it won't interfere with your needle passing through the canvas. Such a great way to transfer an image to fabric for embroiderery!