Strawberry Shortcake Costume for a Toddler or Child Tutorial
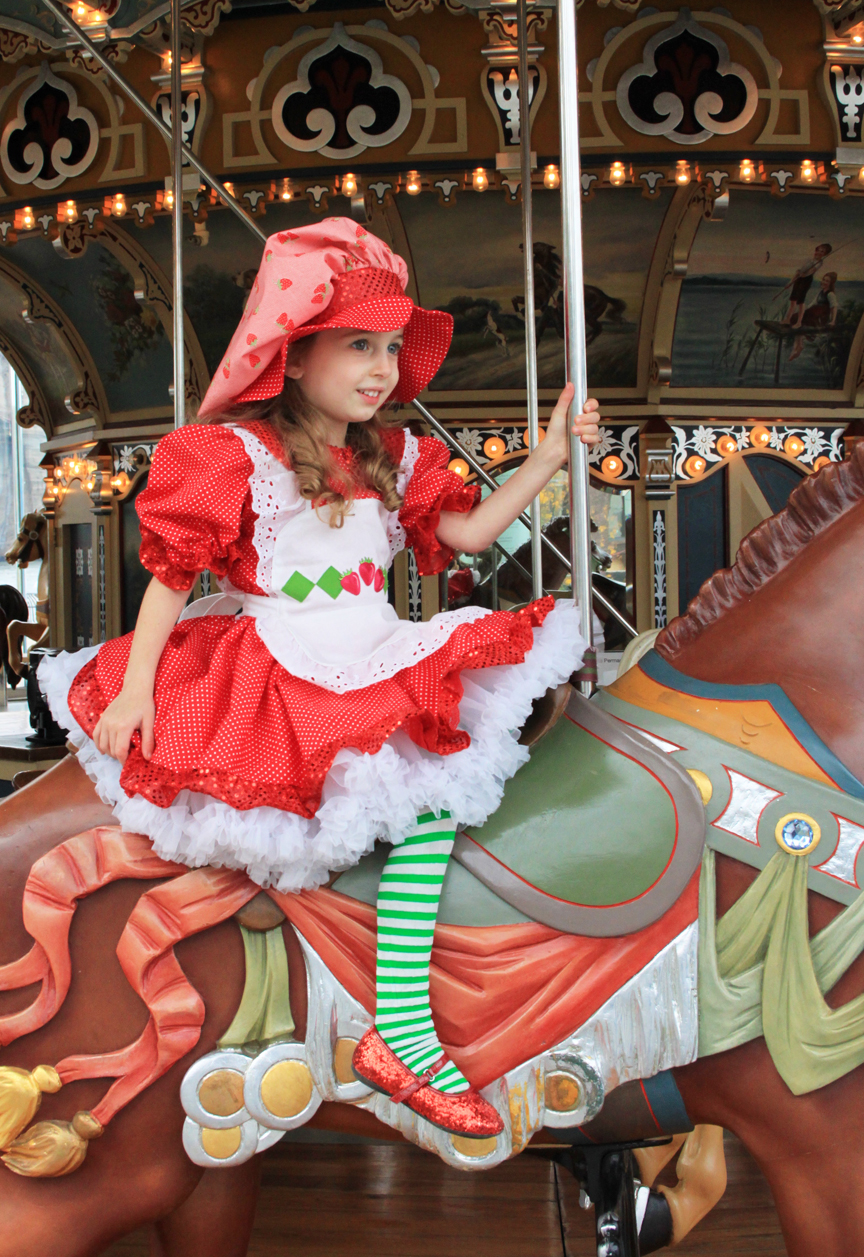

How to Make a Strawberry Shortcake Costume for a Child or Toddler
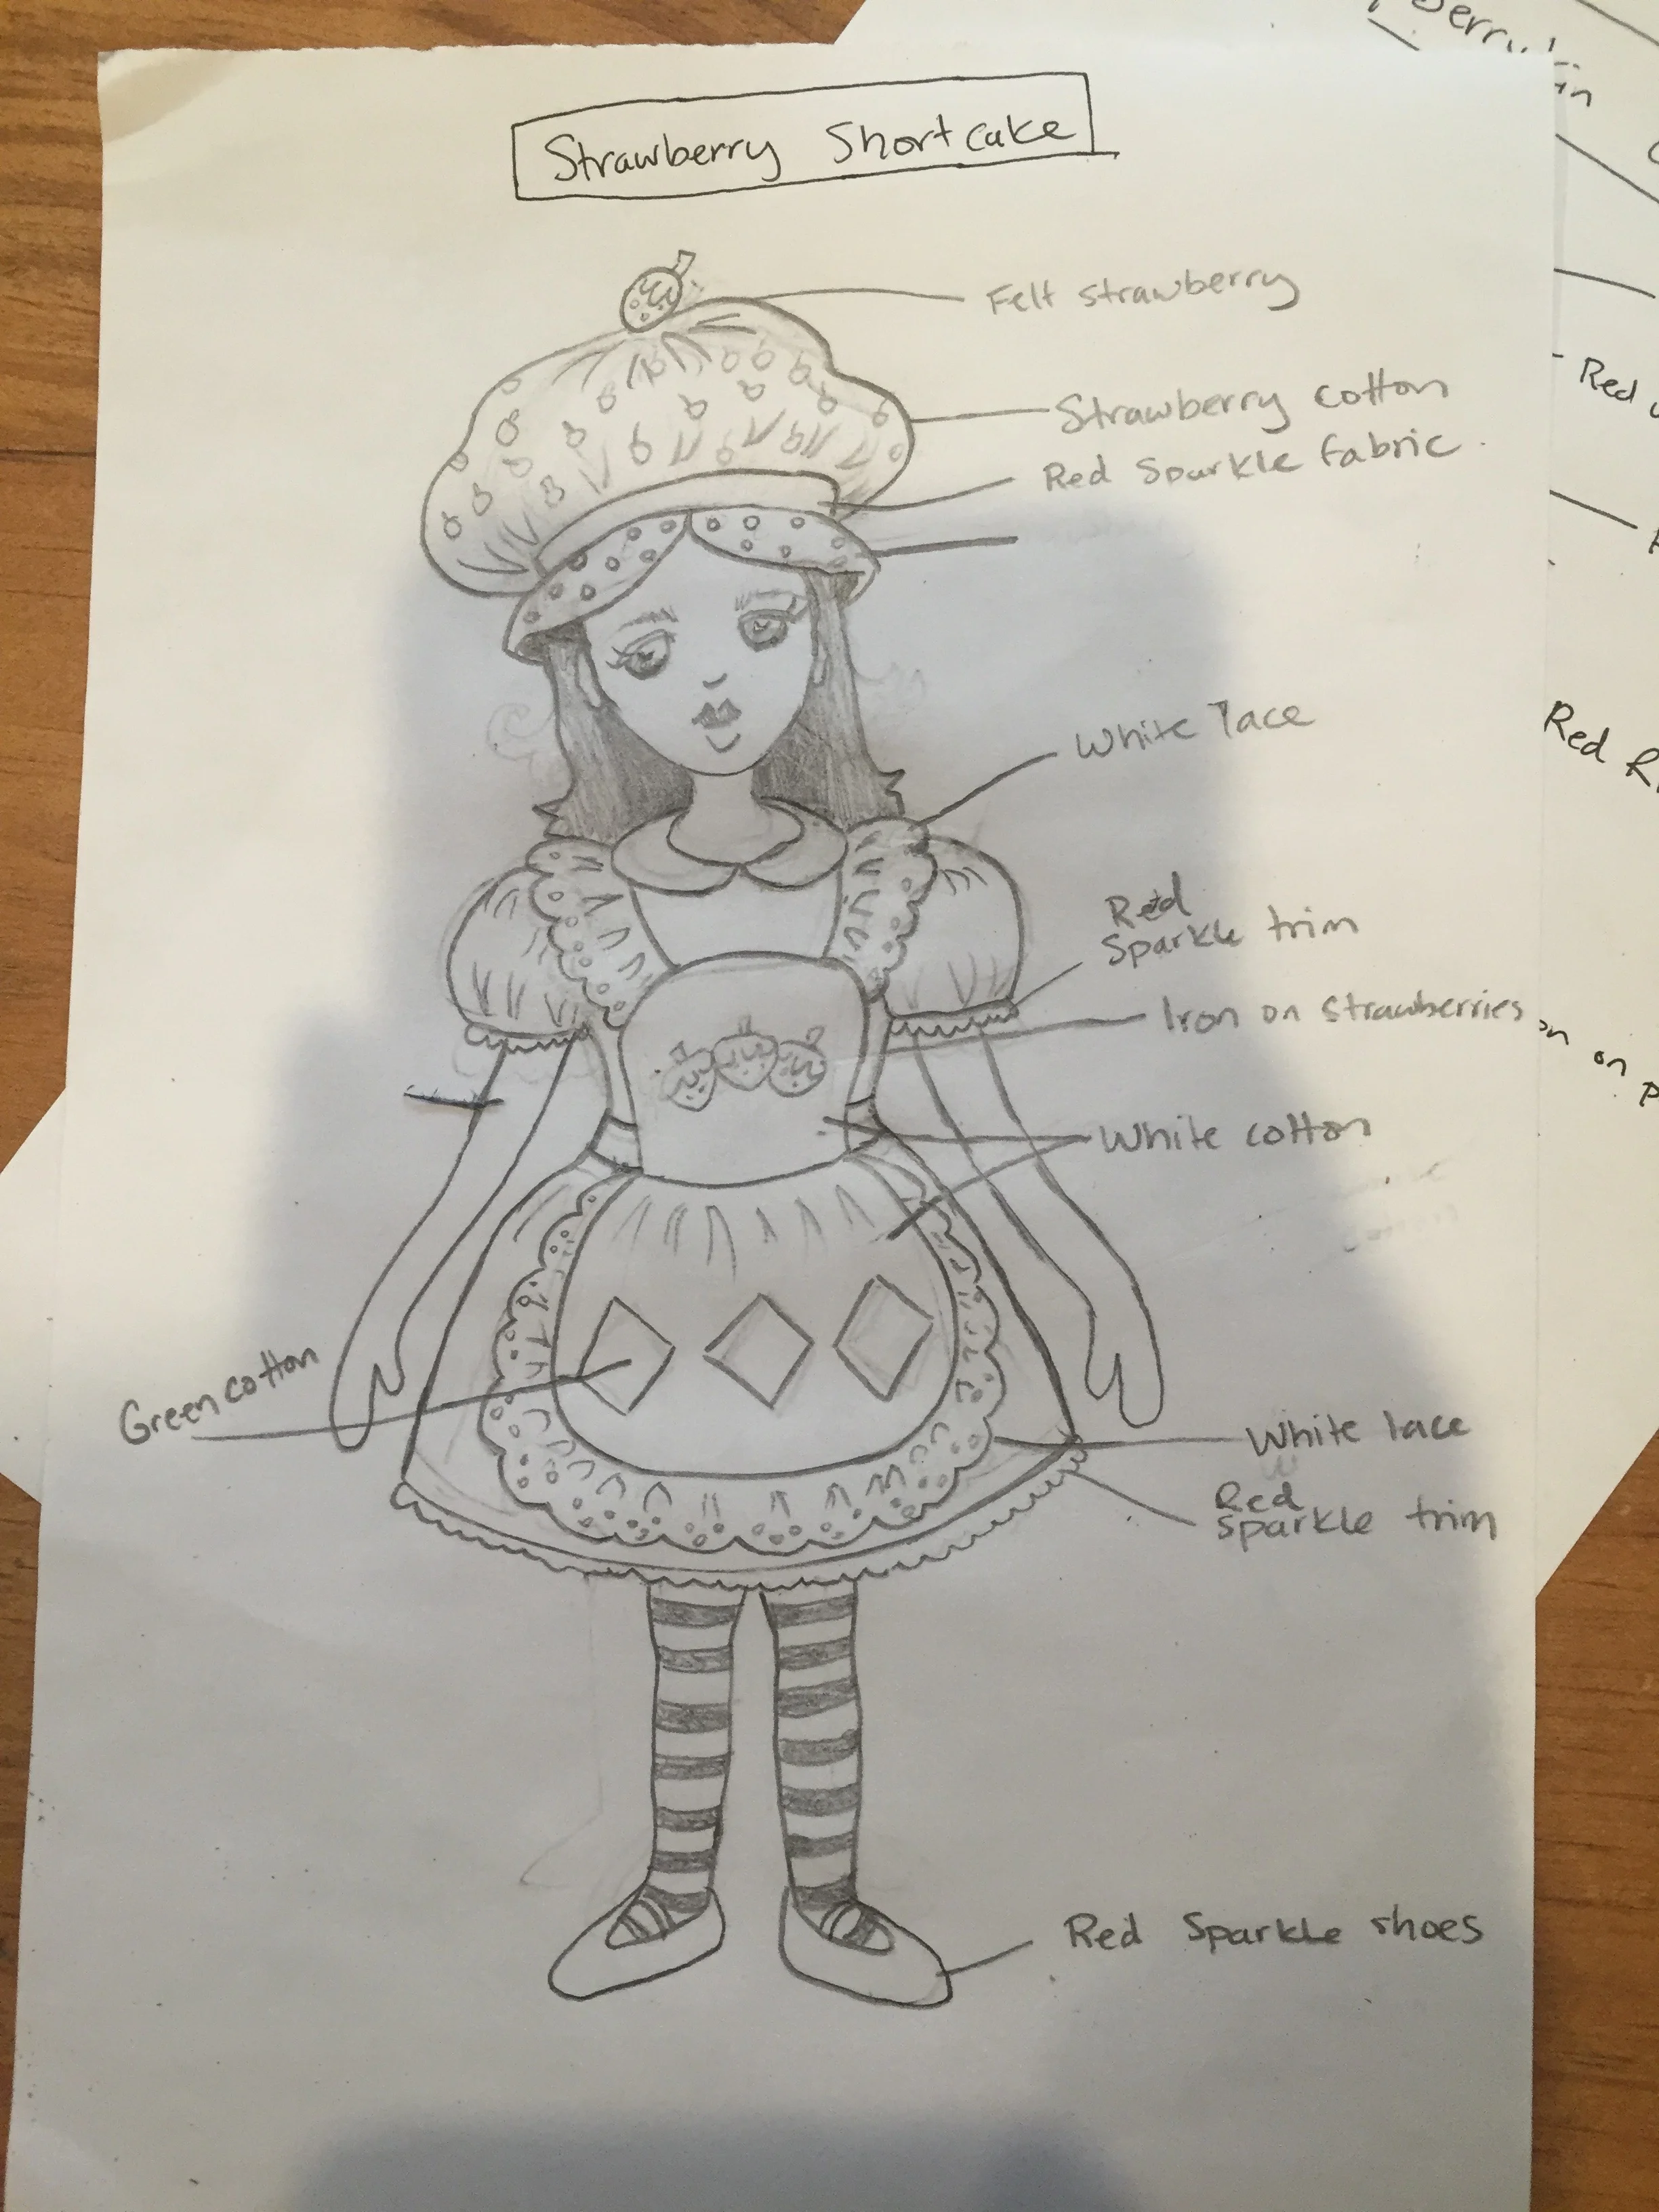
Supplies:
- Red polka dot or strawberry print cotton fabric - 2 yards
- Red cotton fabric for lining - 1/2 yard
- Red sparkle fabric - 1 yard
- White cotton fabric - 1/2 yard
- Green cotton fabric - 1/4 yard
- White petiskirt
- 12 inch red invisible zipper
- Fuseable (Pellon) in light weight and medium weight
- Fuseable webbing or Heat n' Bond
- 3 iron on strawberry appliqué
- 1 1/2 yards of white cotton lace 1 1/2 - 2 1/2 inches wide

Step 1: Make the Hat
Measure the circumference of your child's head. Make the hat band by cutting out a rectangle 2 1/2 inches wide and the length of the circumference of your child's head plus 1 inch seam allowance out of the sparkle fabric. Cut the same rectangle out of the lining fabric. Iron medium weight fuseable to the lining fabric. Place the two rectangles together with the fuse on the inside and the sparkle on the outside and put a basting stitch through the top and bottom of the rectangle. Sew together at the ends Make the top of the hat by cutting a circle out of the polka dot or strawberry print fabric that is 4 to 6 inches larger in diameter than the hat band. Iron light weight fuseable to the inside of the fabric. Put a basting stitch around the edge of the circle and gather the fabric until the circle is the same size as the hat band. Make the brim of the hat by drawing half a circle onto a piece of paper with half the circumference as the hat band. Now turn that circle into something that looks like a peter pan collar but that is three inches wide in the back and tapers to two inches wide in the front. Add 1/2 inch seam allowance to the outer edge and 1/4 inch seam allowance to the inner edge. Cut out your pattern. Fold the polka dot fabric in half and trace the shape onto it. Cut out the two pieces from the fabric. Place them face to face and sew them together on the outer edge. Trim the extra seam allowance off and snip the two corners at the front. Turn right side out and iron. Now sew all three pieces together. Remove basting stitches.


Step 2: Make the Bodice of the Dress
Measure your child:
Waist and Chest Measurement
- (Waist measurement ÷ 4) + 1.5 (ease) =
- (Chest measurement ÷ 4) + 1.5 (ease) =
Neckline (measure a shirt of your child's from top of shoulder to top of shoulder for front and back)
- Front Neckline ÷ 2 =
- Back Neckline ÷ 2 =
Side Seam (2 inches below under arm to waist)
Shoulder slope (measure a shirt that fits them from neckline to armhole seam)
Center front neckline to waist
Bodice:
Use your calculations and measurements to draft a front and back bodice. Cut out patterns and then fold polka dot fabric and lining fabric in half. Cut out a front and back bodice piece from each fabric. Cut the back bodice in half (for the zipper). Baste the outer fabric and lining fabric together for the front and back bodice pieces and the shoulder, sides, neckline and zipper opening. This will ensure that everything stays nice and neat while you are attaching the collar, sleeves, apron and zipper. Sew the front and back bodice pieces together at the shoulder seams.


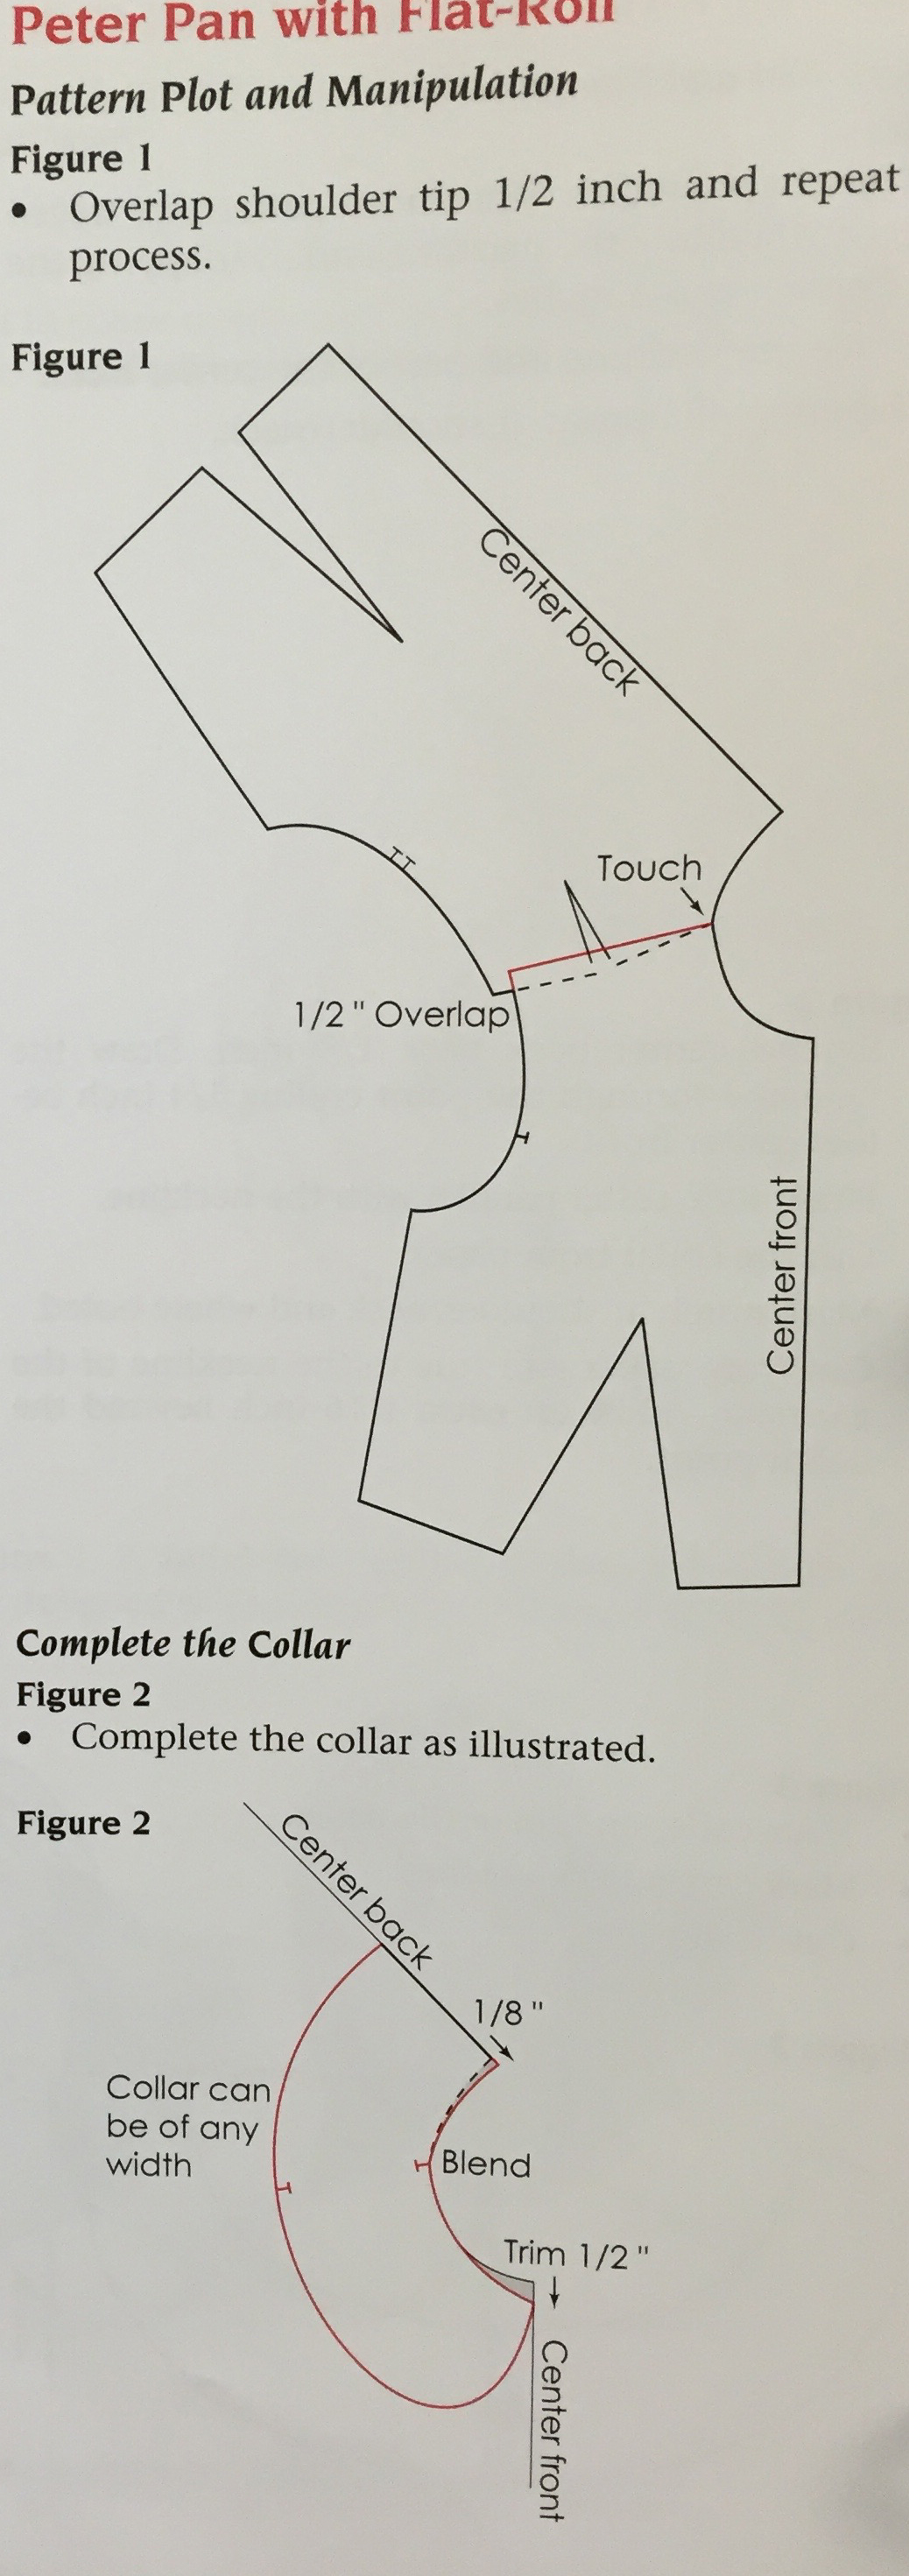
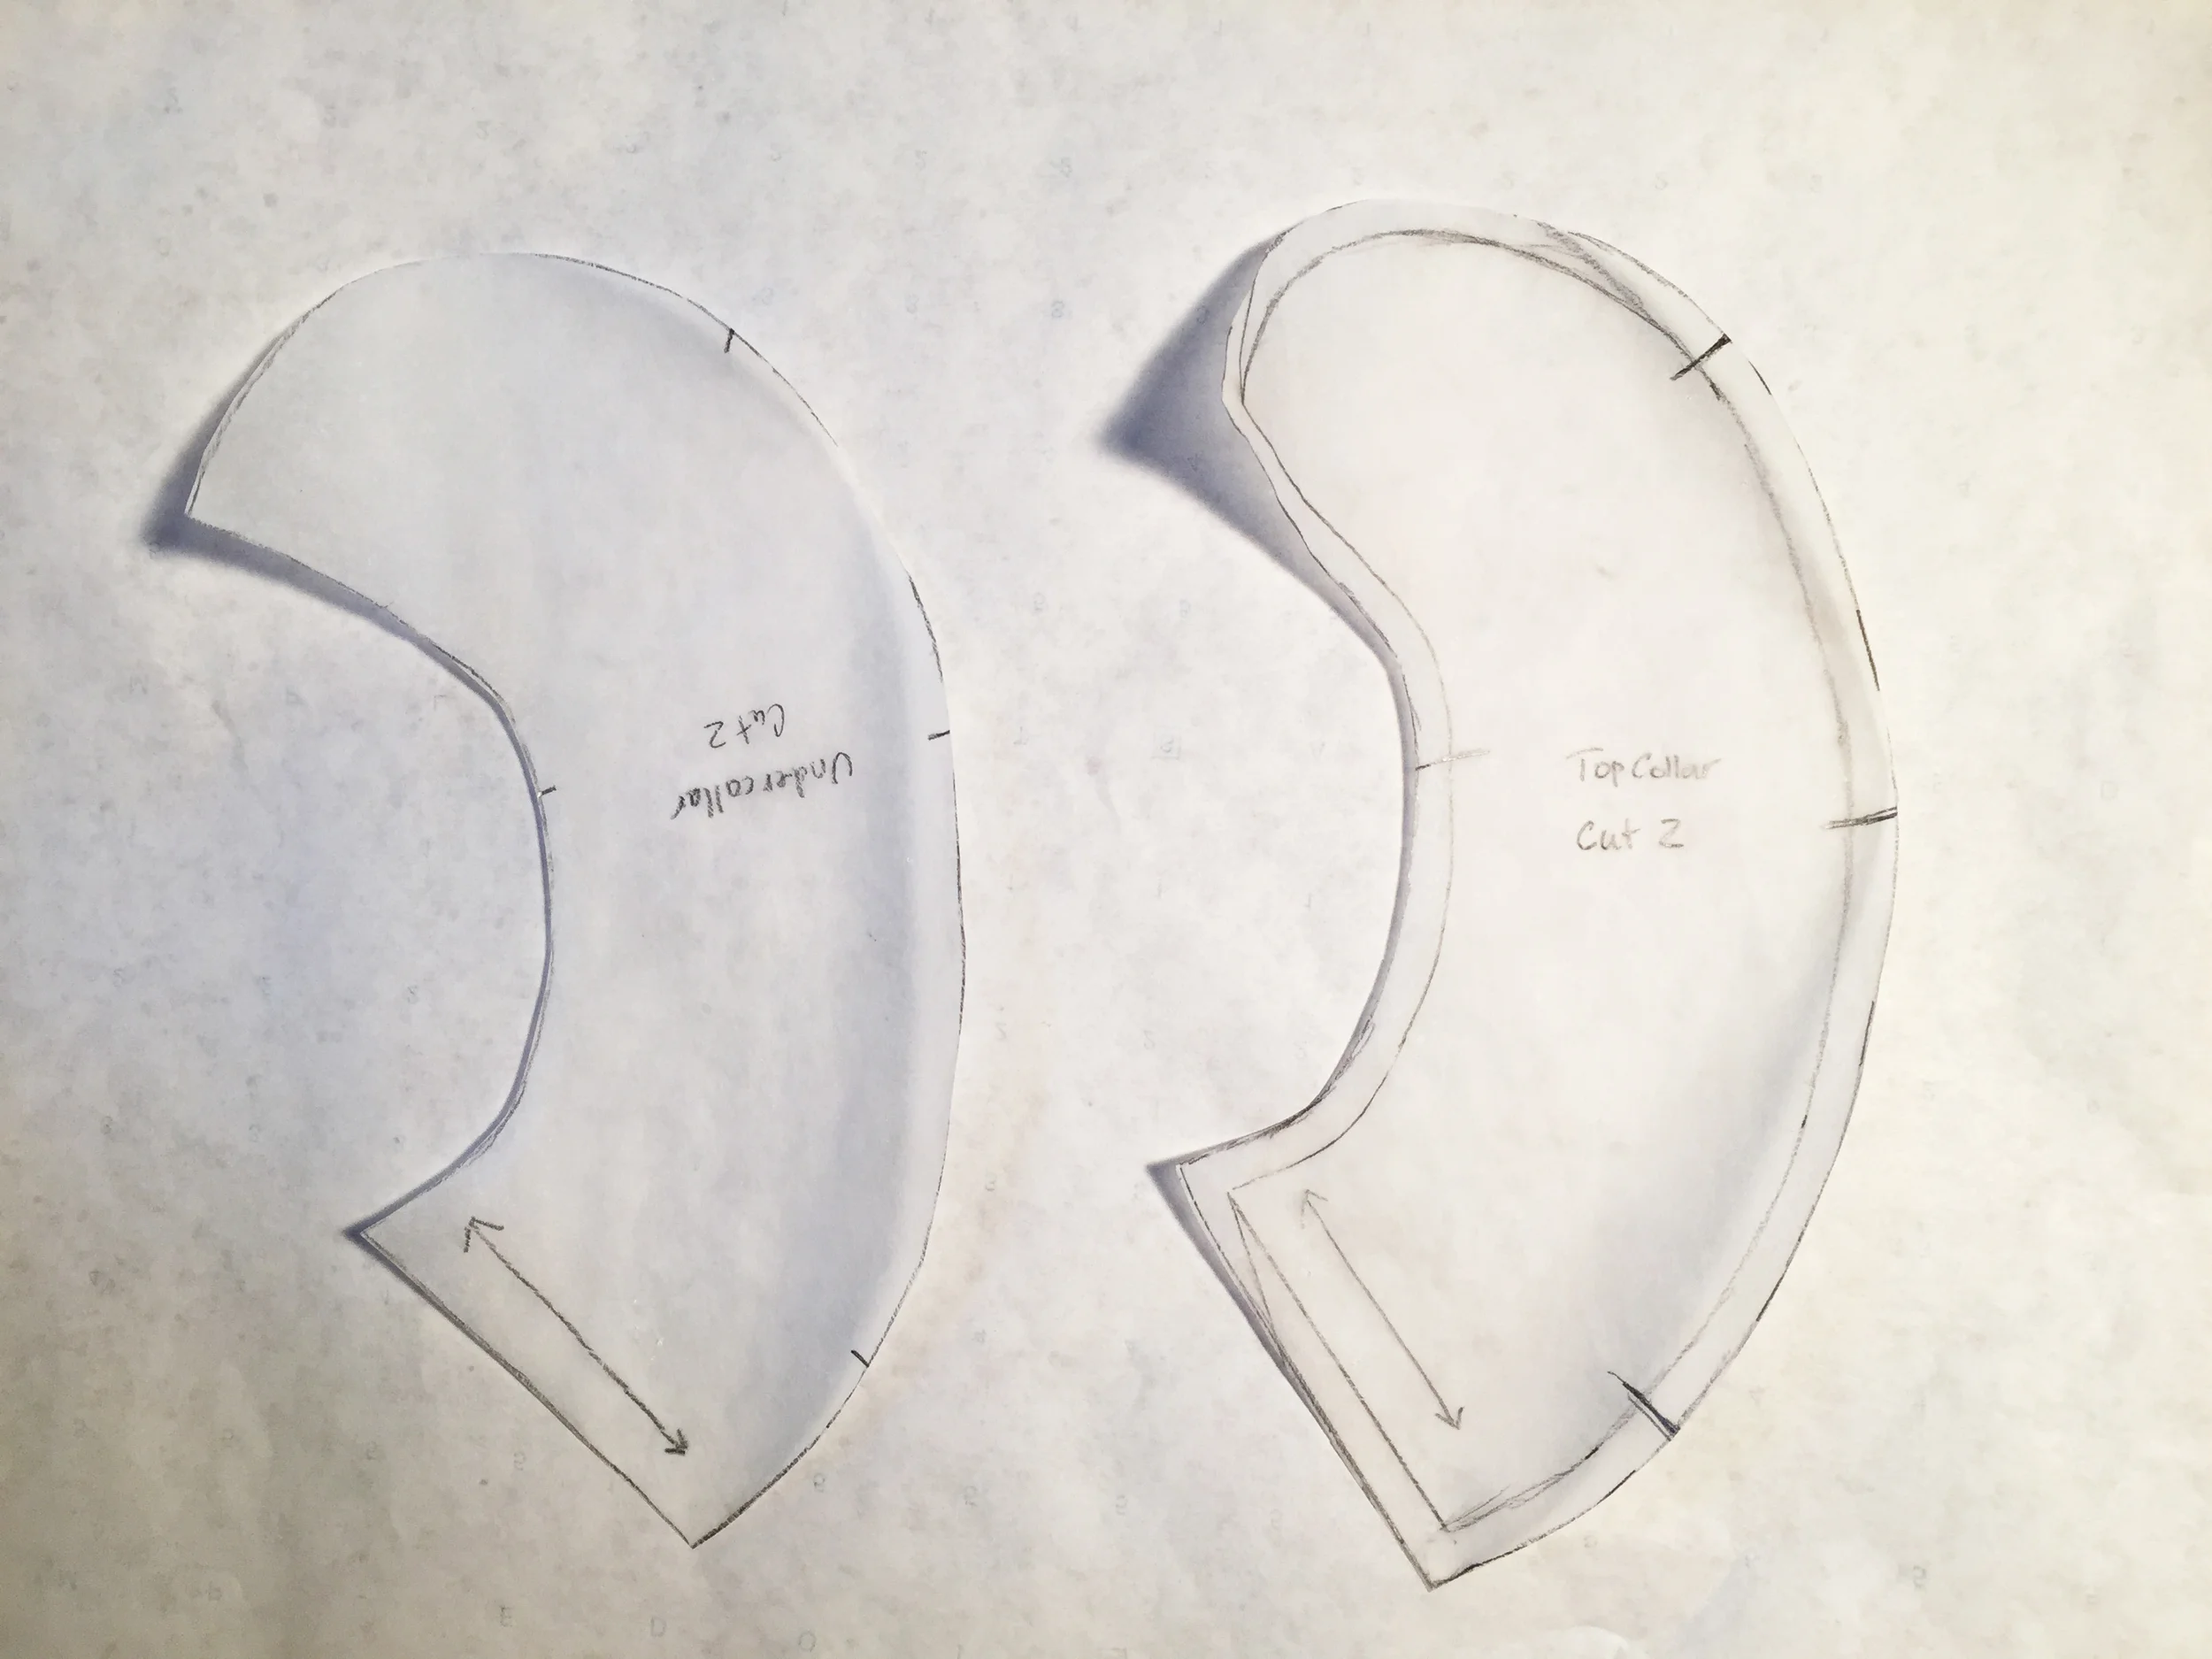
Collar:
Use the instructions I've included below to draft the peter pan collar pattern. Make the bottom collar pieces 1/4 inch smaller on the outer edge than the top collar pieces. This will ensure that the seam rolls to the bottom of the collar so you don't see it. Cut top and bottom collars out of the sparkle and lining fabrics. Place sparkle and lining collar pieces face to face and sew on the outer edge. Trim seam allowance and turn right side out then iron. Sew to the bodice using under stitching to keep the seam on the inside of the garment. If you don't know how to under stitch a collar you can follow instructions from this great Youtube video by Professor Pincushion.
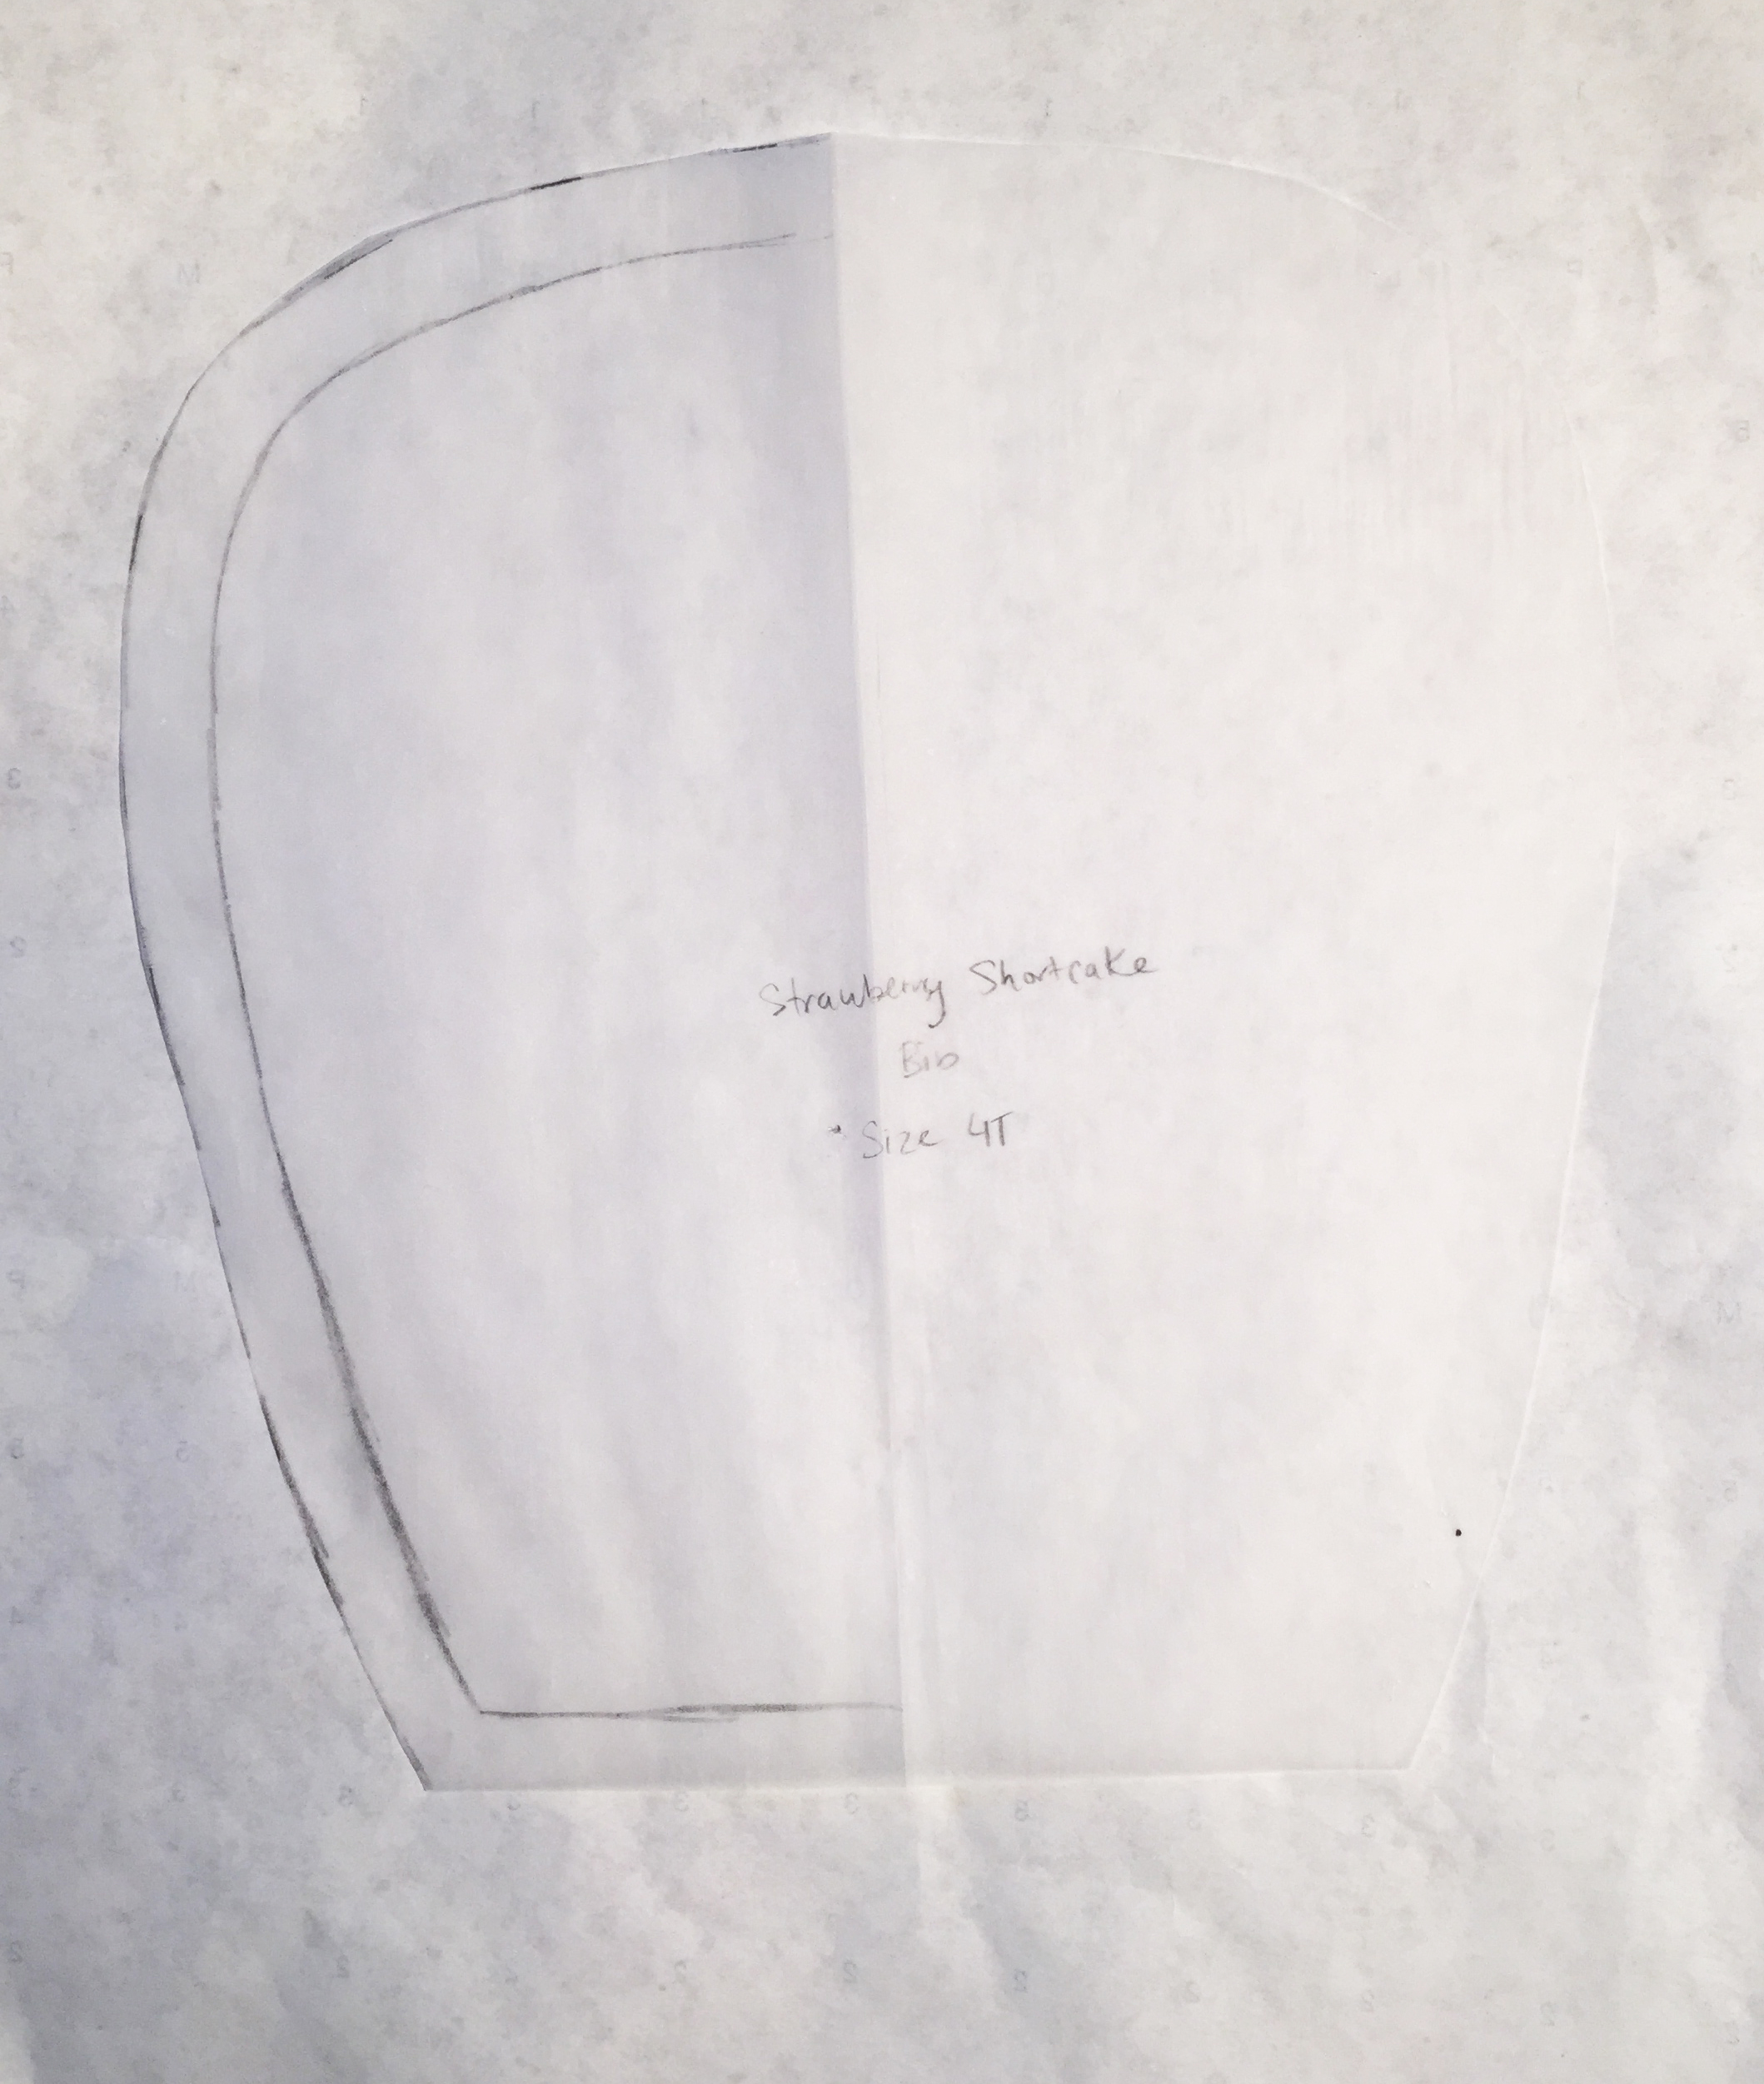
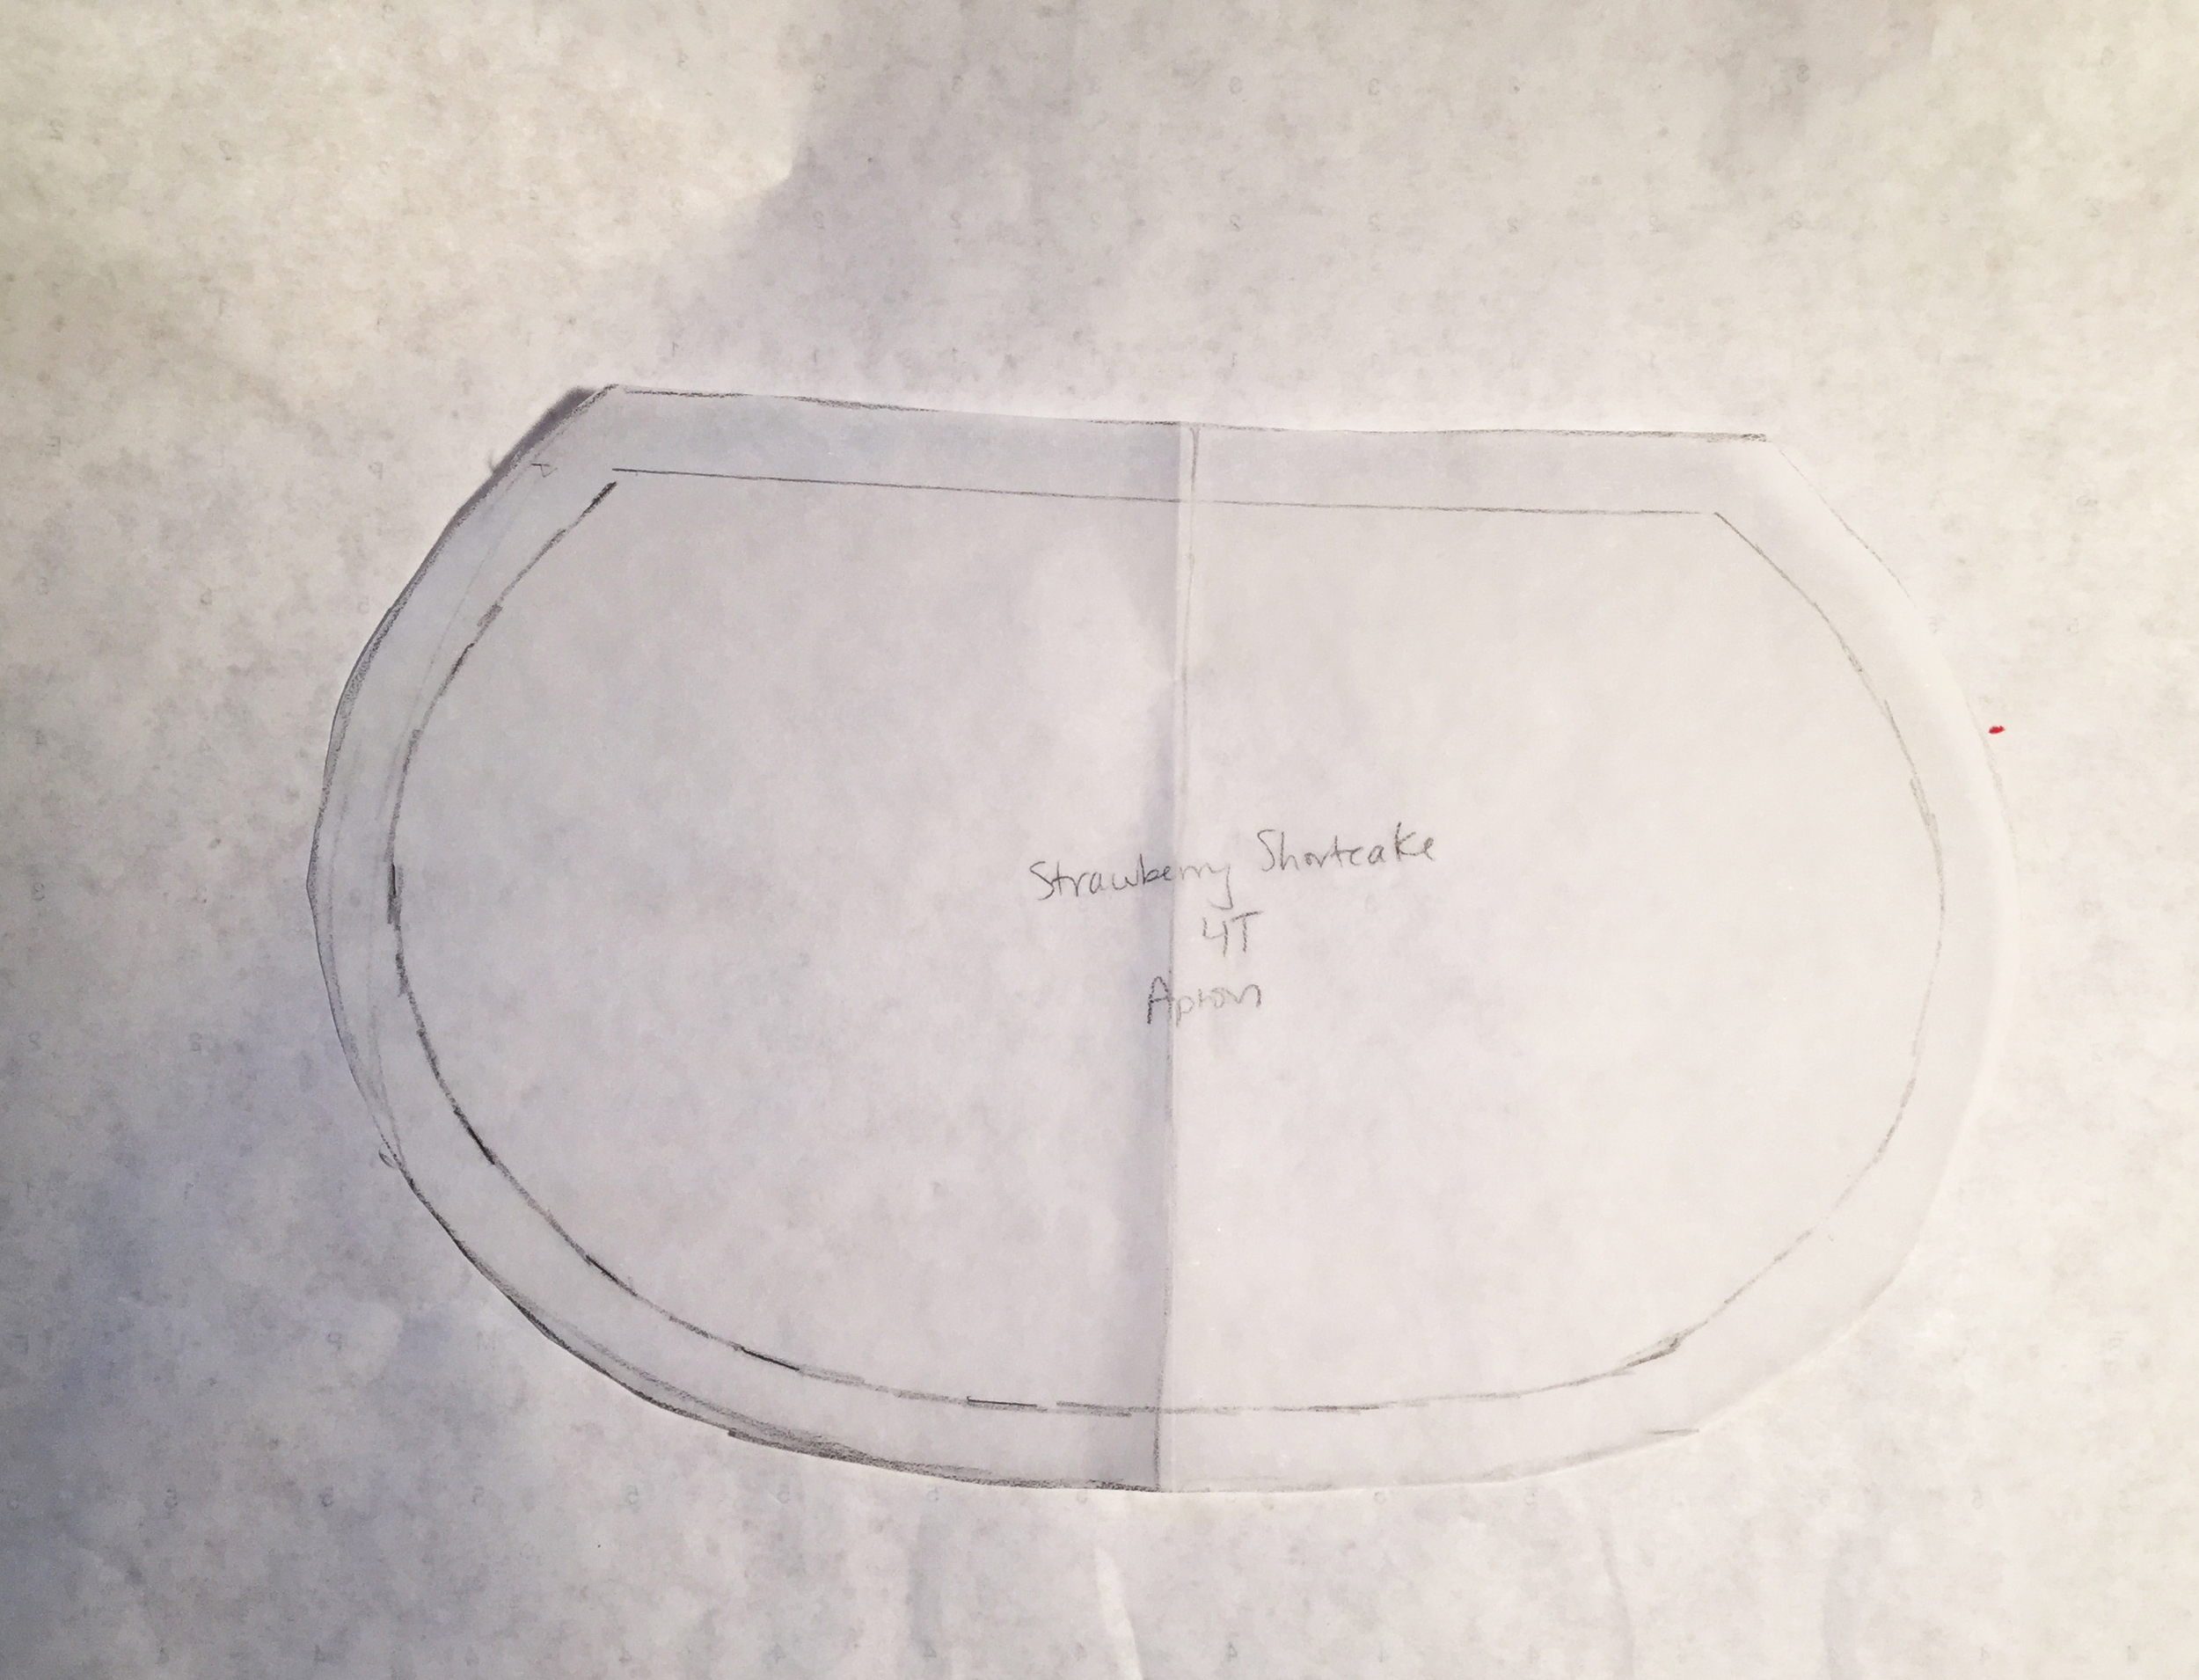
Top of the apron:
Use a piece of tracing paper to draft a shape for the top of the apron. Lay the tracing paper over the front bodice piece and draw half of the top of the apron so that it looks proportional to the bodice. Fold tracing paper in half and copy the other half of the shape. Add 1/4 inch seam allowance on the curved edge and 1/2 inch seam allowance to the bottom edge. Cut the shape out of the white fabric. Fold back the curved edge 1/4 inch and iron. Iron fuseable webbing to the green fabric. Cut out the squares (I made mine 1 inch squares). Remove backing and iron to the apron. Iron on the strawberries. Sew the edges of the strawberries and squares to the apron top. Make two ties for the apron. Sandwich the white lace and apron ties between the bodice and the apron top and sew the apron top to the bodice along the hemmed edge, sewing down the lace and apron ties while sewing down the top of the apron. Trim any excess apron ties or lace that is on the inside of the apron top after you sew everything down. Sew the lace to the front and back bodice.
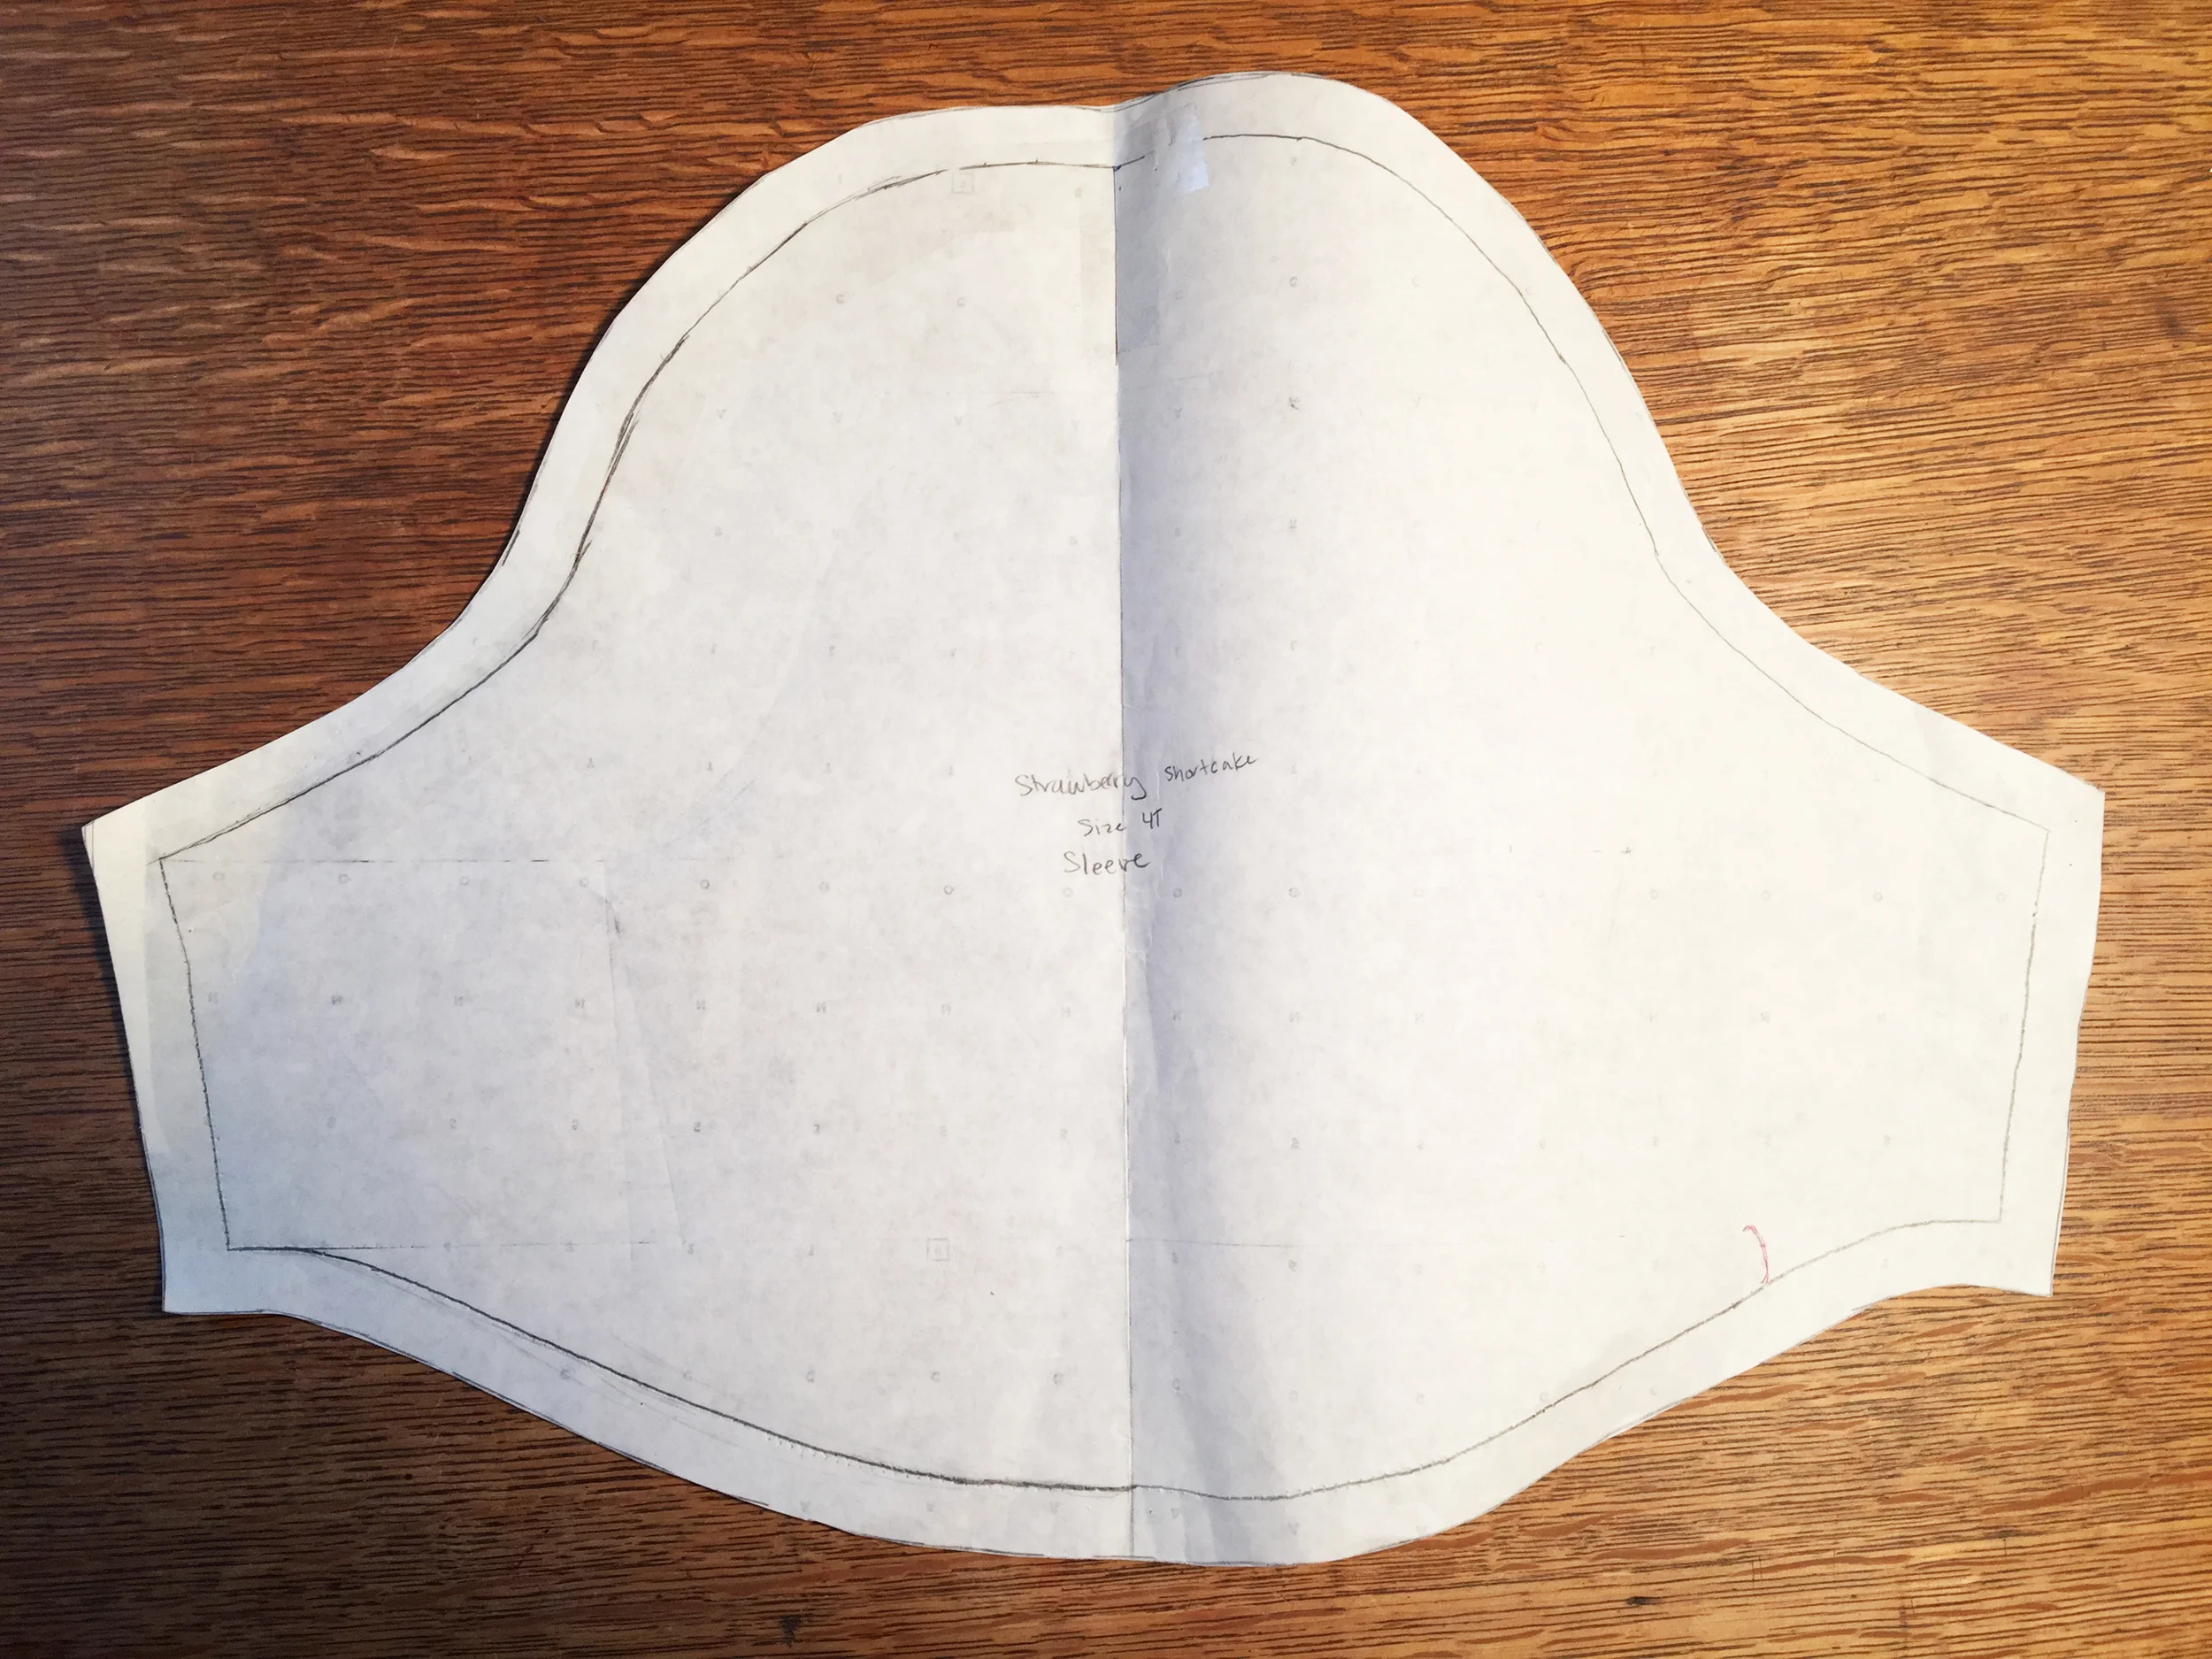
Step 3: Make and Attach the Sleeves
Draft a sleeve pattern using the armhole measurements from the bodice and your child's bicep measurement. Then turn the sleeve pattern into a double puff sleeve pattern using the instructions from the 5th Edition of Patternmaking for Fashion Design. Cut two sleeves out of the polka dot fabric. Cut 2 strips of fabric from the sparkle fabric that is 2 inches wide and the length of your sleeve opening. Put a baby hem on one side of the strip of fabric. Sew it to the opening of your sleeve. Use a zig zag stitch and elastic that is cut to the length of the bicep measurement to create the gathering at the bottom of the sleeve. Sew the elastic where the polka dot fabric and the sparkle fabric are sewn together. Stretch the elastic as you sew it down with a zig zag stitch. Next, put two basting stitches at the top of the sleeve where it attaches to the bodice. Put one stitch 1/2 inch from the edge and the other 1 inch from the edge. Gather the fabric evenly until the sleeve is the same length as the bodice armhole. Pin to the armhole and either sew to the bodice or serge to the bodice.


Step 4: Make and Attach the Skirt
Measure the pettiskirt and use that measurement for the length of the skirt. To get the width of the skirt, use this formula:
(Total Waist + 2 inches ease) x 2 =
Cut two panels from the polka dot fabric that are the length and width you just calculated. Add a 1/2 inch seam allowance all around.
Cut two strips from your sparkle fabric that are 10 inches longer than the width of the skirt panel and two inches in length. Put a baby hem one on side of the strips. Put a basting stitch on the other side and gather the strips so they are the same length as the skirt panel. Sew to the skirt panel. Put a basting stitch in the top of each skirt panel and gather the panel until it is the same length as the bodice.
Draft a pattern piece for the bottom of the apron. Using tracing paper, draft a pattern that is the same length at the top as the top of the apron and looks proportional to the skirt. Cut the bottom of the apron out of the white fabric and hem the edges. Sew the lace to the bottom apron. Attach to the front skirt panel at the top.
Sew or serge the skirt panels to the front and back bodices.
Finish the dress by sewing or serging the sides of the dress from the underarm to the hem.
Cut a slit down the back skirt long enough to sew the zipper into the back of the dress from the neckline to just below the hip. Sew in the zipper.

