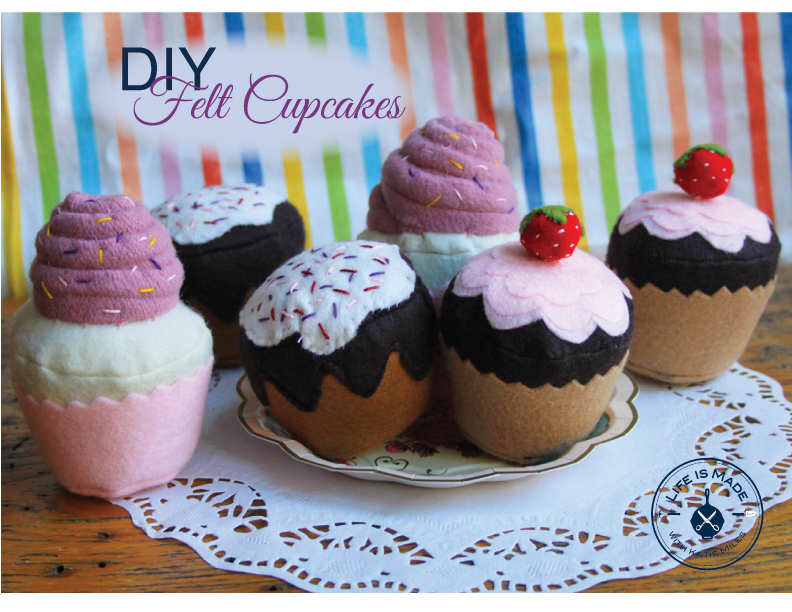
DIY Felt Play Food- Cupcake
DIY Felt Cupcake Tutorial
Yeah, I'll admit I was pretty proud of myself when I finished making these adorable felt cupcakes, but the true validation came when I gave them to my daughter and she promptly exclaimed "Cake!" and shoved one in her mouth and then gave me the most disgusted look when she realized it wasn't a real cupcake. Make these cupcakes for your kids to play with, to use as pin cushions or just because they are so dang cute and you want to decorate your house with them. I've done all the leg work for you by creating super easy patterns for you to print out and use. The part that took the longest was coming up with the patterns and figuring out how to make the toppings, but since you don't have to do that, you could construct a couple cupcakes in under 2 hours tops. Promise! So go forth and make felt cupcakes!
Supplies:
Felt in various colors
Embroidery Floss in various colors
Polyfil
Heat n' Bond
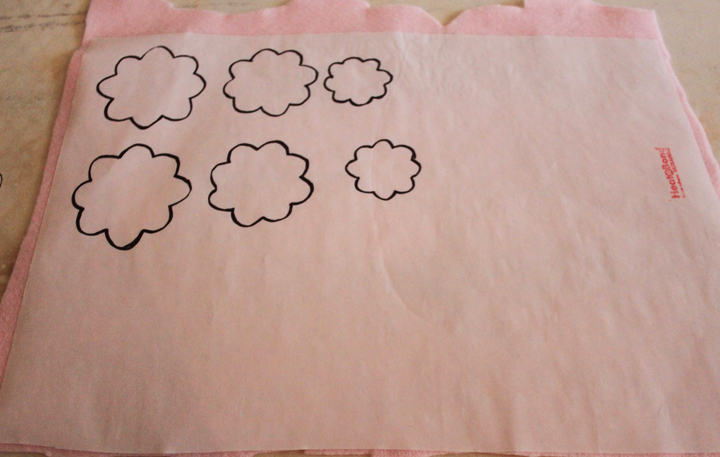
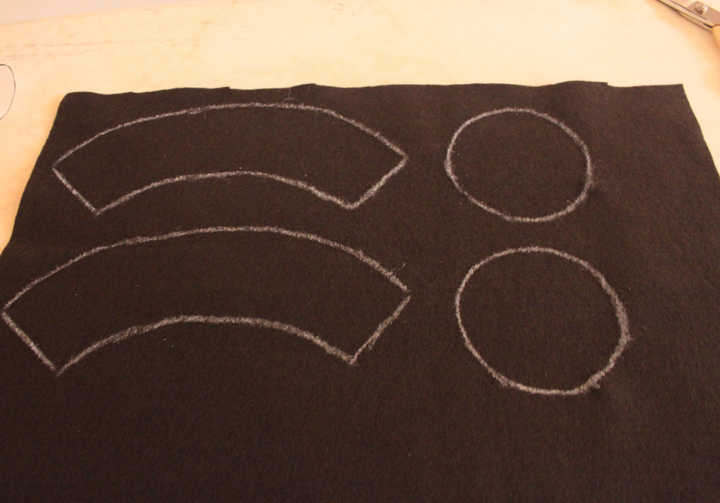
1. Open and print each the 3 patterns
2. Iron Heat n' Bond to the felt you will use for the wrapper and the icing.
3. Trace all of the pattern pieces onto the respective felt and cut each piece out.


4. Remove the Heat n' Bond backing and iron the wrapper to the middle piece. Iron each layer of icing and then iron the icing to the top of the cupcake circle.

5. Sew the bottom circle inside out to the middle of the cupcake. Then sew the top circle. Turn right side out.
6. Stuff the cupcake with Polyfil and then sew up the edge using a loop stitch.

To create the strawberry:
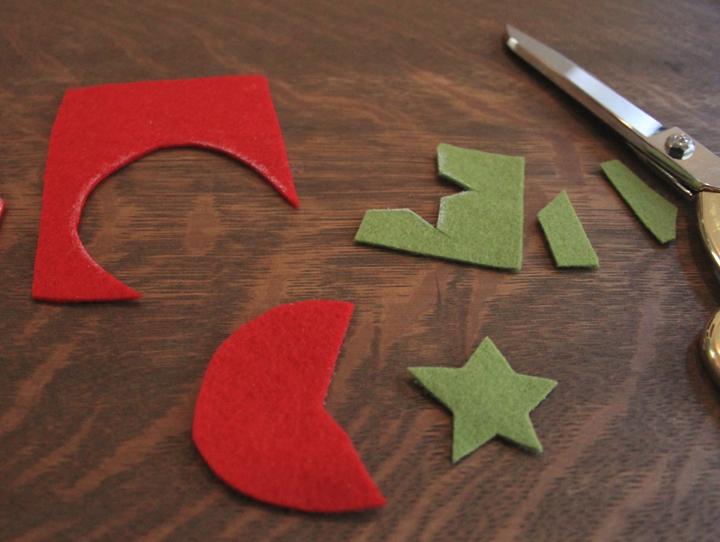
1. Cut out the pieces for the strawberry.
2. Use white embroidery floss to create the "seeds" on the red felt.
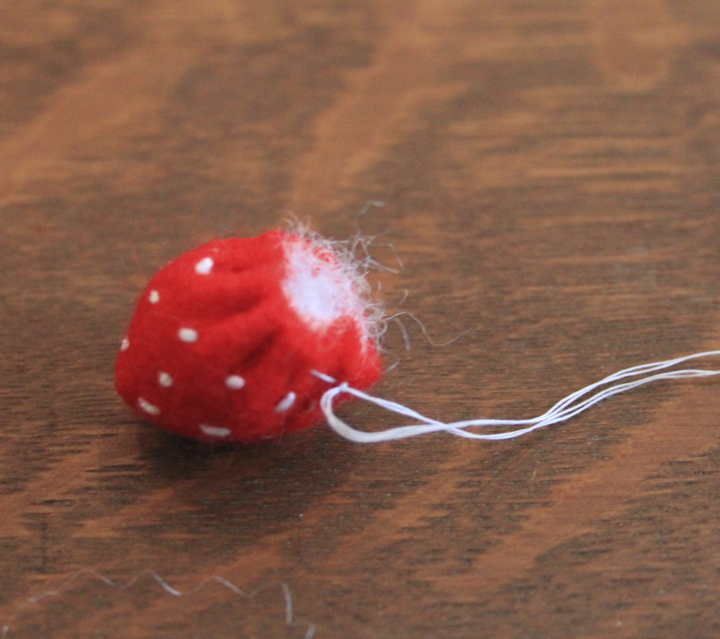
3. Sew the edge inside out. Turn right side out and sew along the top of the strawberry so that when you pull on the ends of the threads it cinches the top closed.
4. Stuff with polyfil and cinch the top of the strawberry closed and tie off.
5. Sew the green top of the strawberry on using a loop stitch.


6. Sew the strawberry to the top of the cupcake.

To create the swirled icing:
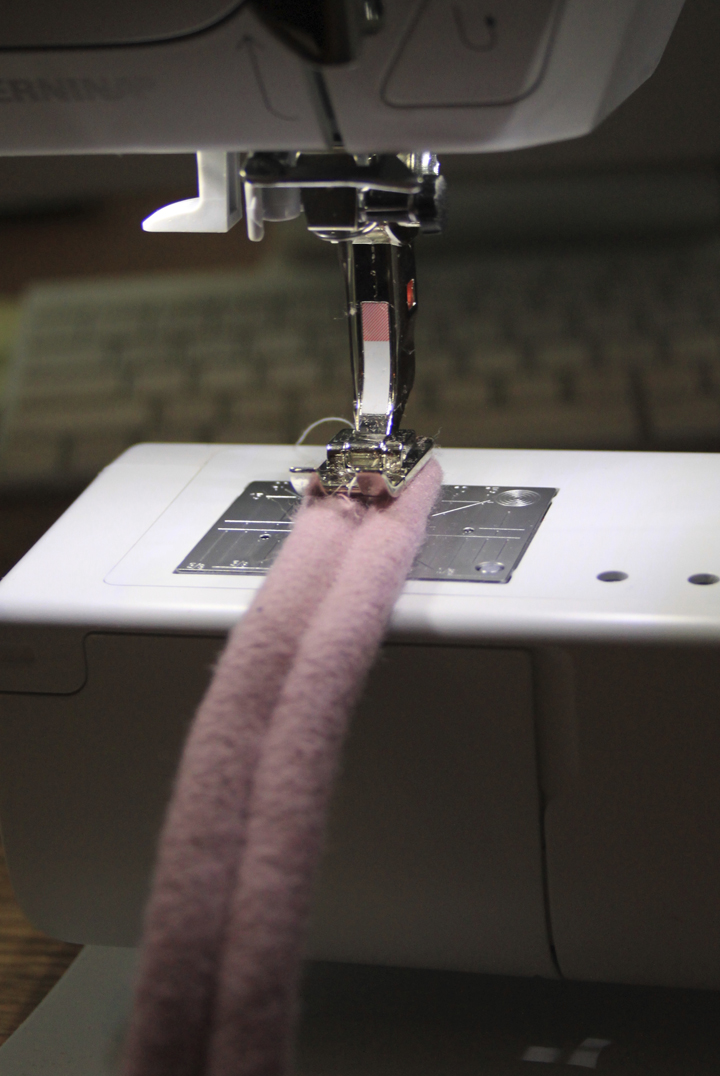
1. Cut a piece of felt 2 x 18 inches.
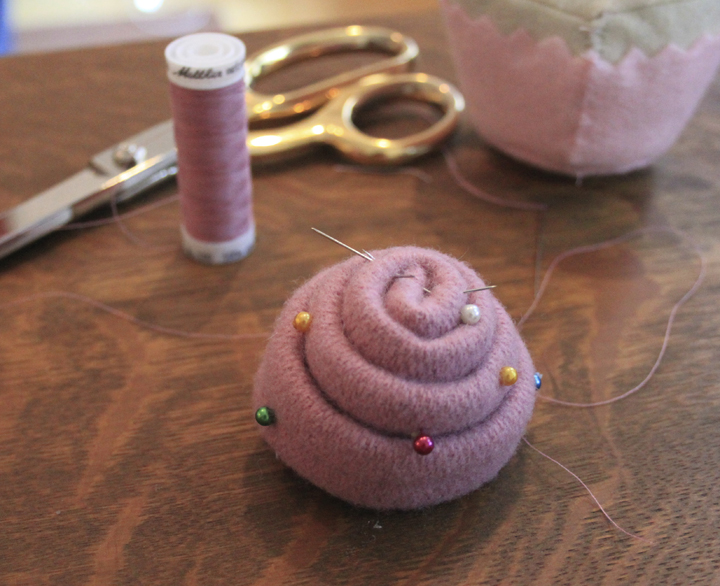
2. Fold the felt 3 times and pin. Sew down the middle of the folded felt.
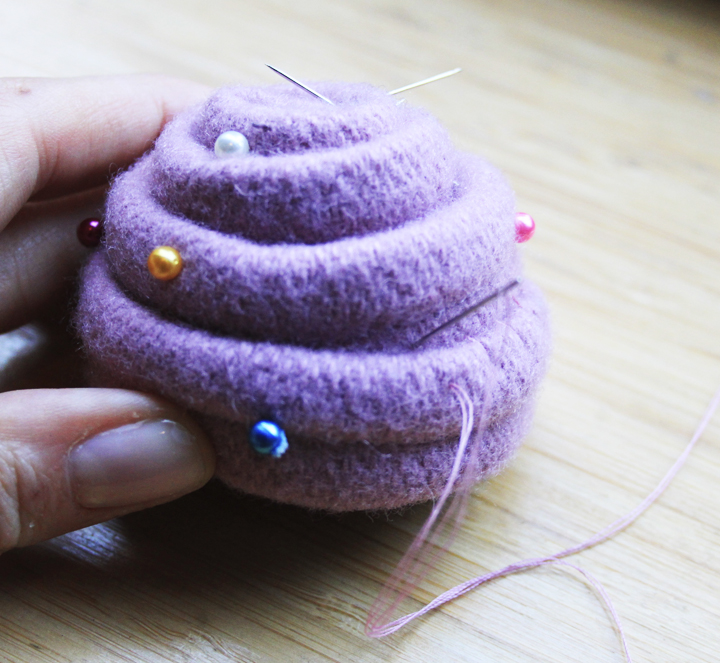
3. Roll the felt so that you are slowly creating a cone effect. Tuck the bottom under. Use pins to secure it the icing.
4. Sew the icing along the edges using a loop stitch.
5. Use different colored embroidery floss to create the sprinkles.
6. Use a loop stitch to sew the icing to the top of the cupcake.