Little Dress on the Prairie

Little Dress on the Prairie

As promised, here is a tutorial for a slightly more complicated summer dress for a little girl. This is possibly the second cutest thing I've ever made next to my little girl, Ruby. This dress is still too big for my little baby bear, but that was intentional because I want it to fit her this summer. I couldn't resist putting it on her though and watching the two cutest things I've ever made twirl around the room melted my heart. This summer when the dress actually fits, I will take some photos of the crazy cuteness and post them. For now, I hope you enjoy the tutorial. You can find a drawing of the dress with places to write in your child's measurements here.
Supplies: Cotton fabric, lace, embroidery thread, fusible webbing, buttons, iron, ironing board, parchment paper
1. Use the measurements for the chest, bodice, and arm holes to cut out the bodice pieces. Add one inch to your chest and bodice measurements to leave room for seams. I sketched out the bodice onto a piece of paper then traced the drawing onto my fabric. For the backside of the bodice, add one inch to each half for the overlap where the buttons and buttonholes will go.
2. Cut out a rectangle that is the skirt measurement-- Width= halfway between the nipples and bellybutton to just above the knee plus one inch for seams. Length= three times the length of the chest measurement.

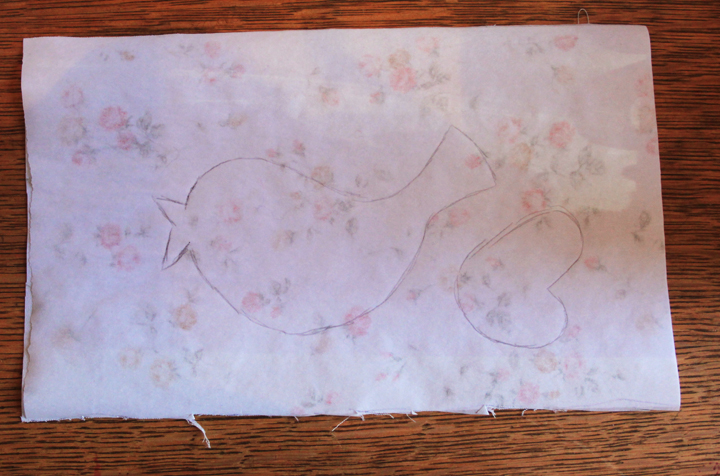
3. Use the fusible webbing to make an iron on appliqué bird. You can print a bird stencil here.
Sandwich the fusible webbing between the fabric and the parchment paper making sure that the piece of webbing is slightly smaller than both the fabric and the paper so it won’t melt onto your iron. Set your iron to high with no steam and iron the three elements together with the fabric on top. Draw and cut out your shapes and pull off the parchment paper, then iron the shape onto the fabric.


4. Stich the edging of the appliquéd bird using embroidery floss.
5. Sandwich the bodice panels together with the lace for the sleeves pinned into the arm holes. On the front panel, stitch the arm holes and neckline but leave the top of the sleeves and the sides and bottom unstitched. On the back panel, sew the armholes, neckline and center flaps. Turn right side out and press with the iron.

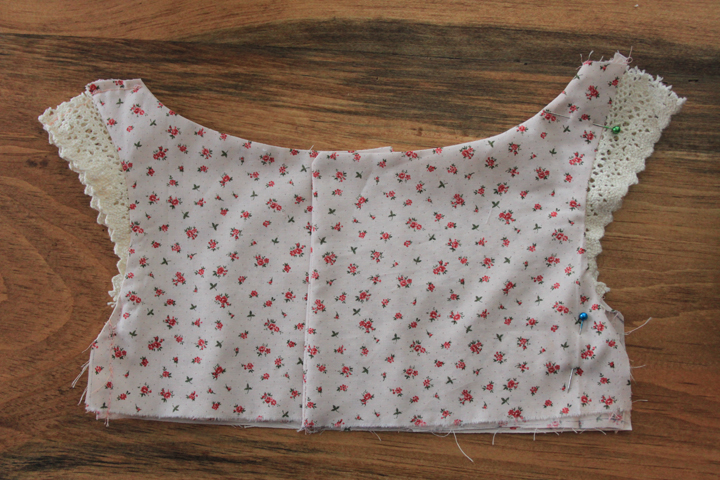
6. Pin the panels together inside out and stitch the top of the sleeves and sides together.
7. Measure and sew your button holes. If you are sewing them by hand, just use a loop stitch to finish off the raw edges. Then measure and sew in you buttons.


8. Hem the bottom of the skirt and sew in the lace.
9. Lay the skirt and the bodice on top of one another face to face, gather the skirt to the bodice and pin it. Then sew the skirt to the bodice. Keep the dress inside out and sew the skirt seam together. Turn inside out and press with the iron.